

Have you ever seen those gorgeous Dutch braids on the internet and wished you could make them yourself? Have you tried it but didn’t get the desired results and ended up creating a regular braid instead?

A Dutch braid is a popular kind of braid hairstyle. A Dutch braid is a go-to hairstyle for many women, whether going to a special event or having a bad hair day.
This hairstyle is often known as a cousin of the French braid, and the processes of creating the two are pretty similar. The only difference is that to create a French braid, you have to crosshair under sections, while in Dutch braiding, this is done over sections of hair.
Even though Dutch braids look complex, they are easy to make, even for beginners. You have to follow our easy step-by-step tutorial on creating a Dutch braid, which is given below. However, it would be best if you had practice to be proficient at creating this hairstyle.
Step-by-Step Guide on How to Make a Dutch Braid
Before starting to Dutch braid your hair, gather all the necessary things. You will need a hand-held mirror to check the back of your head when you are done.
You will also need a rat-tailed comb for sectioning hair, a brush, hair clips to secure hair, hair elastics, and anti-frizz hair spray to smooth out flyaways. Also, dry your hair before braiding it. Otherwise, your hair can break or tangle easily.
Step 1: Prepare your hair and brush out tangles
Start with clean and brushed hair. Ensure that your hair is tangle-free by using a comb to remove any knots or snarls. Center-part your hair and brush each side. Be sure to get rid of all the knots and tangles and then brush them towards your back. Apply smoothing serum or gel for any flyaway hair.
Step 2: Decide on the section
Decide where you want to begin the braid. This can be at the top of your head, near the forehead, or at the crown. Section off the hair you want to braid and secure the rest with a hair tie or clip.
Step 3: Divide into three sections
Take the sectioned-off hair and divide it into three equal strands. Hold each section in a different hand. Grab the middle and right strand in your right hand and the left strand in your left hand to keep them separate.
It is best for beginners to start with a small amount of hair first, as it is difficult to hold onto bigger sections.
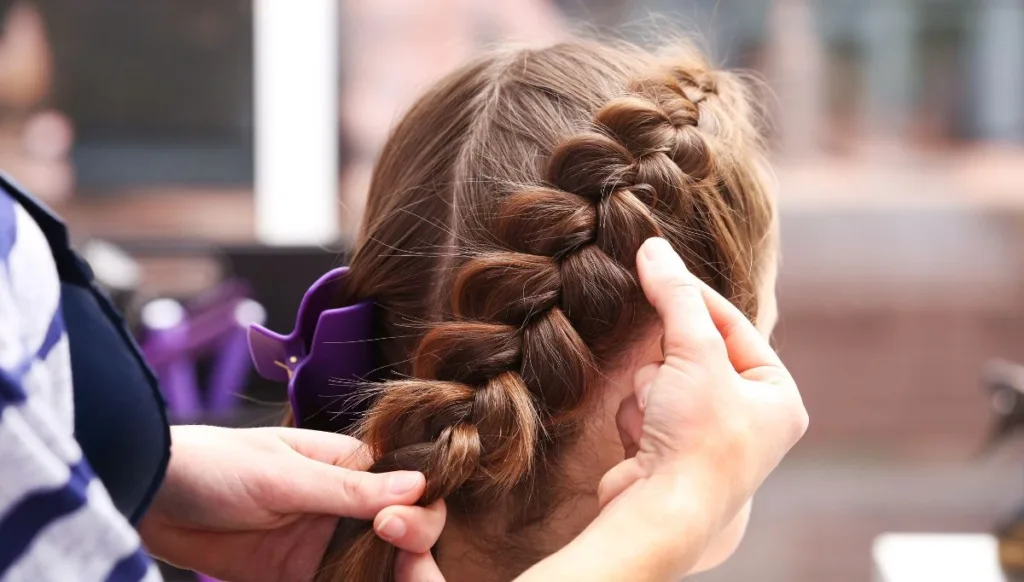
Step 4: Begin the braid
Instead of crossing the sections over each other (as in a traditional braid), start by using your index finger and thumb to bring the right strand to cross under the middle strand. Then, cross the left strand under the middle strand.
You can start off with the left strand if you are comfortable with it. Just remember to cross the strands over rather than under. Otherwise, you won’t be able to get the perfect Dutch braid.
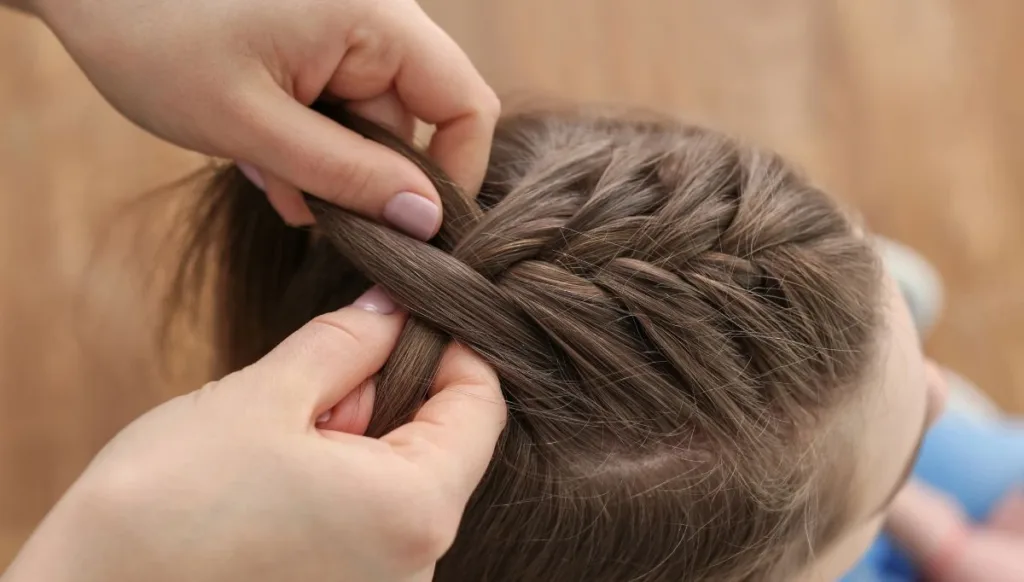
Step 5: Add more hair to your braid
As you continue, add more hair to each section before crossing it under. Pick up a thin strand from your right side with the help of your thumb and index finger, add it to the right strand gathered earlier, and cross it under the middle strand.
Repeat on the left side by picking up a small section, adding it to the left strand, and crossing it under the middle strand.
Step 6: Repeat the process
Continue the braiding process by adding hair to each section before crossing it under the middle. As you move downward, incorporate more hair from the sides to create the characteristic “inside-out” appearance of the Dutch braid.
Step 7: Continue to the end
Continue braiding until you reach the nape of your neck or the desired stopping point. At this point, you can switch to a regular three-strand braid but cross the strands from the right and left side under the middle one instead of over it. Secure it with a hair tie and use anti-frizz spray for the stray hair.
Step 8: Secure the braid
Use a small hair tie to secure the end of the braid. Usually, the tighter the braid, the better, but if you want a more casual, carefree look, more relaxed look, and more volume, gently pull on the sides of the braid to loosen it and create a softer appearance
This technique is called pancaking. Don’t loosen up your braid a lot since it’s bound to become loose on its own after some time.
Now that you know the basics of making a Dutch braid, there are many variations that you can try as well. This hairstyle allows a lot of creativity.
You can make an updo with a Dutch braid or create a side Dutch braid, depending on your mood.
Difference Between Dutch and French Braid
Dutch braids and French braids are both types of braiding. They are also both very similar but have one key difference:
In a French braid, you will be crossing different sections of the hair interchangeably, but you will only be crossing the hair underneath in a Dutch braid.
In a French braid, sometimes called a three-strand plait or a fishtail braid, you will divide your hair into three sections, two on each side and one in the middle, and then intertwine them all together. This means that the outer two sections will switch places with each other throughout the process.
A Dutch braid is similar to a French braid in that it is also made up of three strands—one on each side and one in the middle, but unlike its French cousin, it doesn’t intertwine them at all; instead, it simply crosses over one strand under another.
Different Dutch Braid Styles
You can find inspiration for creating different styles with Dutch braids on the internet. A few variations of Dutch braids that we like and find easy to create are given below.
1. Double Dutch Braid
The double Dutch braid is great for an everyday look when you are not having the perfect hair day. You can also sport this hairstyle during festivals. To create a double Dutch braid, part your hair down the middle and make two even sections.
Then follow steps two to six for each section. This hairstyle is great for creating heatless beach waves too. Just make a double Dutch braid on damp hair and then go to bed. In the morning, undo the braid and presto. You have loose waves. Use hairspray to make these waves last longer.
2. Side Dutch Braid
This is another variation of the classic Dutch braid. It looks great on medium to long hair. To create this braid, you need to follow all the steps of the simple Dutch braid mentioned above.
The only thing you need to do differently is that instead of braiding your hair straight down the back, you have to braid it on one side.
3. Dutch braid updo
This is an elegant hairstyle for events. To create this, start off with a double Dutch braid. Then take each braid and cross them to the opposite side.
Lift them up and then line them against the starting edge. Secure them with bobby pins. For a neat finish, tuck the ends inside your braid.
4. Double Dutch ponytail
This is another great hairstyle for different occasions. For this, create one Dutch braid on each side of your head till the nape of your neck.
Don’t braid the rest of your hair. Just bring the two braids together and tie them at the end to create a sort of ponytail.
5. Dutch braid bun
This is great for those who like to keep their hair in a bun, whether it is a standard bun or a messy bun. To create this hairdo, make a double Dutch braid and tie the ends in a bun.
Conclusion
There are a variety of ways to create a Dutch braid, and they all have their pros and cons. Which method works best for you may depend on your stylistic preference and the style you’re trying to create.
But whatever you choose, with practice, it should come naturally, so don’t worry if you’re a little awkward at first. Whether it’s a casual day out or a formal event, the Dutch braid adds an elegant touch to your hairstyle repertoire.


