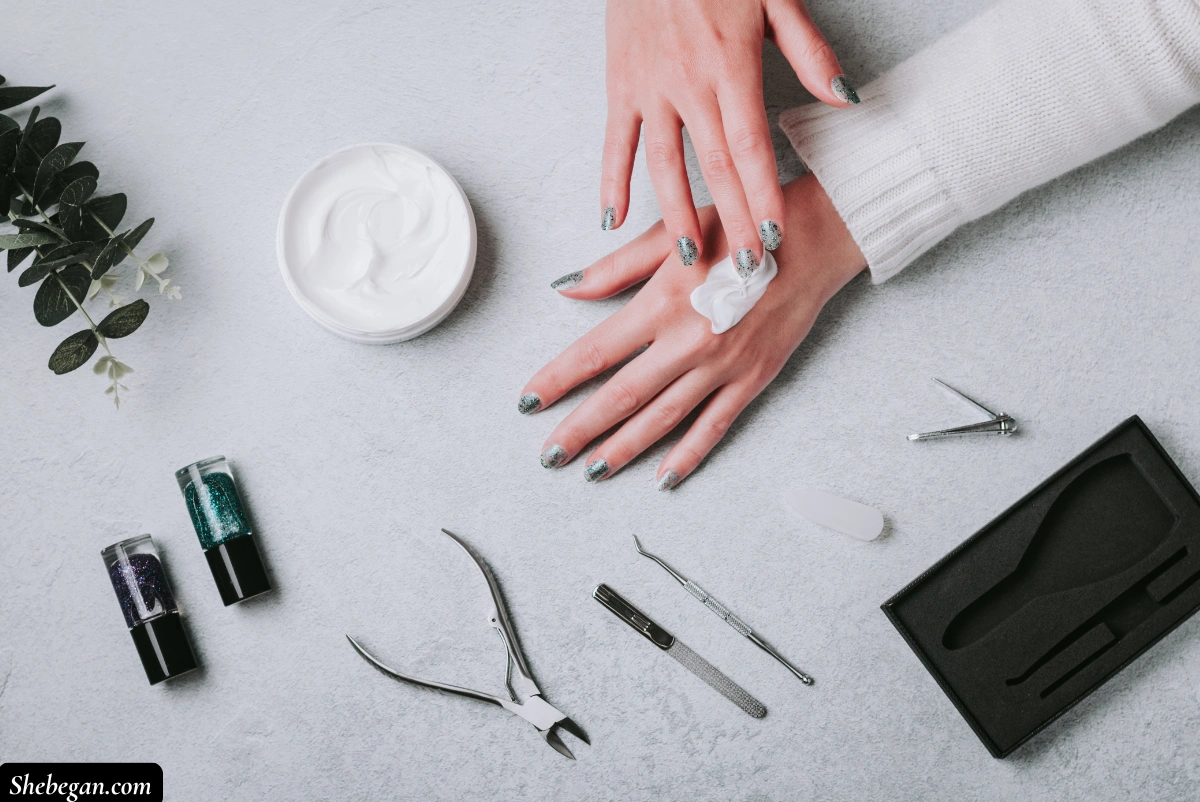
There was a time I became so busy with work that even finding time to eat properly felt like a win. Everything was moving so fast, and in the middle of it all, my nails were just tragic. I couldn’t remember the last time I had a proper appointment with my nail tech.
Between long hours, tight deadlines, and just trying to rest whenever I could, the thought of blocking out a few hours just to sit at the salon felt like a luxury I couldn’t afford. My nails started looking rough, chipped, and honestly, kind of embarrassing.
That’s when I decided to figure it out on my own. I thought, what if I could actually do my own acrylic nails at home, no rushing to the salon, no waiting, no extra costs? Just me, my favourite playlist, and a little setup in my room. At first, I was nervous, but once I got the hang of it, it became this fun, relaxing part of my routine.
If you’ve ever found yourself in that same situation, busy, tired, or just not in the mood for salon appointments, this guide is for you. Let me show you exactly how to do your own acrylic nails at home, step by step. It’s easier than it looks, I promise.

- 1. Prep your natural nails
- 2. Apply nail tips or use nail forms
- 3. Dehydrate and prime the nails
- 4. Mix your first acrylic bead
- 5. Apply the bead to the nail
- 6. Build in small sections
- 7. Pinch for a natural curve (optional)
- 8. File and shape your nails
- 9. Apply a top coat
- 10. Take care of your nails
- Final thoughts
1. Prep your natural nails
Before anything, I like to make sure my nails are clean and ready. I gently push back my cuticles using a wooden stick or cuticle pusher, then take a soft nail file and lightly buff the top of each nail. The goal here is just to remove that shiny layer so the acrylic sticks better.
After that, I dust everything off and wipe my nails with a bit of acetone or alcohol on a cotton pad. It helps remove any oils or leftover dust. This part feels boring sometimes, but trust me, it makes a huge difference. If you skip this, your nails might not last as long.
2. Apply nail tips or use nail forms
Now, this step depends on what you prefer. I personally like using nail tips because they’re quicker and easier for me to control. I just pick the right size for each finger, making sure they fit side to side without overlapping, then glue them down one by one.
I press and hold each for about 10 seconds so they stick properly. Once they’re all on, I trim them to my desired length and shape them a bit with a nail file. If you’re more advanced or just curious, you can try using nail forms instead. But for beginners, tips are a lifesaver.
3. Dehydrate and prime the nails
After the tips are on and shaped, I go in with a dehydrator. This step is so simple but super important. It dries out any moisture left on your nails so the acrylic can hold on better. Right after the dehydrator dries, I use a nail primer, just one thin coat on each nail. This helps prevent lifting later on. Both of these products are cheap and easy to find, and they really help your nails last longer without popping off.
4. Mix your first acrylic bead
This part used to scare me a bit when I first started, but with some practice, it gets easier. I pour a bit of monomer into a small dish (called a dappen dish), then dip my acrylic brush into it. After that, I lightly tap the brush into the acrylic powder.
The liquid and powder form a little bead at the tip of the brush. It should look smooth, not too wet, not too dry. If it runs off your brush like water, it’s too wet. If it crumbles, it’s too dry. Don’t stress if you don’t get it right at first; just keep practicing. I promise it gets better.
5. Apply the bead to the nail
When the bead looks good, I gently place it close to my cuticle area, not too close, though, you want to leave a little space so it doesn’t touch your skin. I then use the belly of the brush to pat and press the bead down the nail.
I work slowly and shape it gently as I go. It’s okay if it doesn’t look perfect right away. You’ll file and shape it later. The key here is to be patient. I always remind myself that rushing through this part never ends well.

6. Build in small sections
Instead of trying to do the whole nail in one go, I break it into parts. Usually, I use two or three beads per nail. One near the cuticle, one in the middle, and another at the tip if needed. This gives me more control and helps me build a strong structure without messing things up.
I focus on getting the middle part of the nail (called the apex) a little thicker because it adds strength and keeps the nails from breaking easily. It might take time to get it right, but that’s okay. You’re learning.
7. Pinch for a natural curve (optional)
If you want that nice salon-style curve in the middle of the nail, you can use a pinching tool or even your fingers. But this step is totally optional. I usually do this when I want a more professional finish.
I wait about a minute or two after applying the acrylic, just until it starts to firm up, then gently pinch the sides of the nail to create a C-curve. I hold it for a few seconds and then let it sit to finish drying. If you’re not into this step yet, skip it. Your nails will still look great.
8. File and shape your nails
Once all the acrylic is dry (which usually takes around 2–3 minutes), it’s time to shape the nails properly. I grab my nail file and start by evening out the sides and the tip. Then I go over the surface with a buffing block to smooth everything out.
If there are any lumps or uneven spots, this is where I fix them. Some people like using an electric file (e-file), and it does make things quicker, but a regular file works just fine too. I take my time here because filing is what makes the nails look neat and polished.
9. Apply a top coat
Now comes the fun part, finishing. I go in with a top coat to seal everything. You can use an air-dry top coat or a gel one if you have a UV lamp. I personally like using a gel top coat because it gives my nails that super shiny, fresh-out-of-the-salon look.
If I’m using gel, I cure it under my lamp for about 60 seconds. If I’m using a regular top coat, I just let it air dry for a few minutes. Either way, this last step brings everything together.
10. Take care of your nails
After I’m done, I always apply some cuticle oil around my nails to moisturize and keep them looking healthy. It’s a small touch, but it makes a big difference.
And I try not to use my nails as tools, no opening cans or peeling things off. When it’s time to remove them, I never pull or rip them off. I file them down and soak them in acetone instead. That way, my natural nails stay healthy and don’t get damaged.

Final thoughts
Doing your own acrylic nails at home might feel a bit tricky at first, but it’s honestly easier than it looks once you try it. You get to save time, save money, and still have cute nails without leaving your house. Just take your time, enjoy the process, and don’t stress if it’s not perfect right away; you’ll get better with every set.