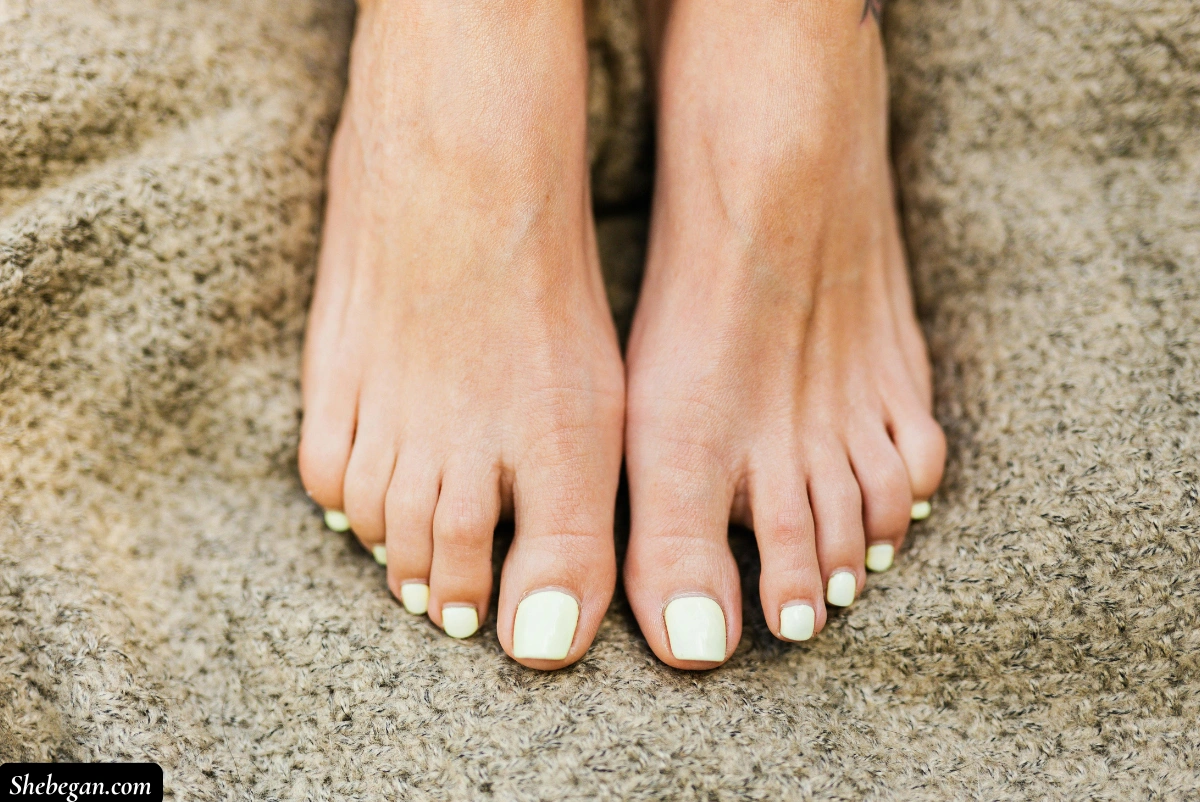
I told my friend the other day that I’ve been thinking of trying out some cute toenail designs at home. There’s something fun about looking down at your toes and seeing a bit of colour, sparkle, or art. It really makes you smile.
The best part is you don’t even have to book a salon appointment or spend a lot of money. With just a few simple tools and a bit of time, you can create some really pretty looks right from your own space. I’ve been playing around with a few ideas, and I can’t wait to share these easy, step-by-step toenail art styles you can try at home.
1. Ombre with sparkle and tiny accent

Start by applying a clear base coat to give the nails a smooth surface and protect them from staining. Once that’s dry, paint the top half of each toenail with a soft pink polish and the bottom half with a rich purple. Use a small flat brush or even a little makeup sponge to gently blend the two shades together in the middle until there’s no harsh line between them.
This blending step is what creates that pretty ombre effect. After the polish has set a little, take a thin nail art brush and draw small black crosses and a few dots over the purple section to add detail.
For a touch of elegance, place a tiny gold bead in the center of each cross. The gold adds just enough sparkle without overpowering the design. Finish with a layer of clear top coat to lock in the look and keep it glossy for days.
2. Geometric French tips
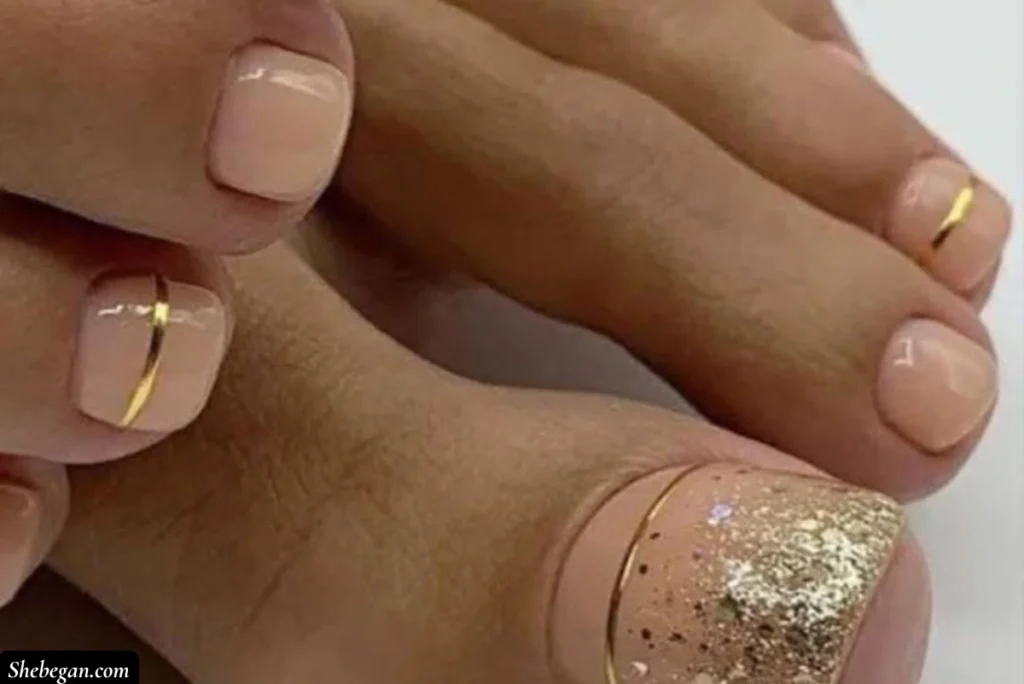
Apply a base coat to all toenails for protection and a smoother finish. Paint the smaller toes with black polish, keeping the big toe for the main design. Paint the big toe completely white so the geometric detail will stand out. On the smaller toes, use a dotting tool or the tip of a bobby pin to create neat white French tips over the black polish.
On the big toe, paint one half black while leaving the other half white. This split design makes a perfect canvas for the geometric lines. Take a thin striping brush and draw clean, straight white lines across the black section.
This contrast of black, white, and crisp lines creates a chic yet modern look. Once everything is dry, apply a glossy top coat to add shine and help the design last longer.
3. Exotic summer swirls with leaf accents

Start with a white or pale pink base to make the colours pop. Dab small blobs of pink and light blue polish onto the nail, then gently blend them together with a soft brush to create a dreamy, swirled background. The goal is to keep the colours light and airy so they don’t lose their brightness.
Once the base colours are set, use a fine detail brush dipped in black polish to draw delicate, leaf-like patterns over the swirls. A few leaves here and there are enough to make the design stand out without looking too busy.
Add a touch of glitter polish to one or two nails for a summery sparkle. For toes that have more pink showing, paint a neat black French tip to balance the look. Seal everything with a top coat to protect the artwork and keep it fresh.
4. Dotted and rhinestone accents
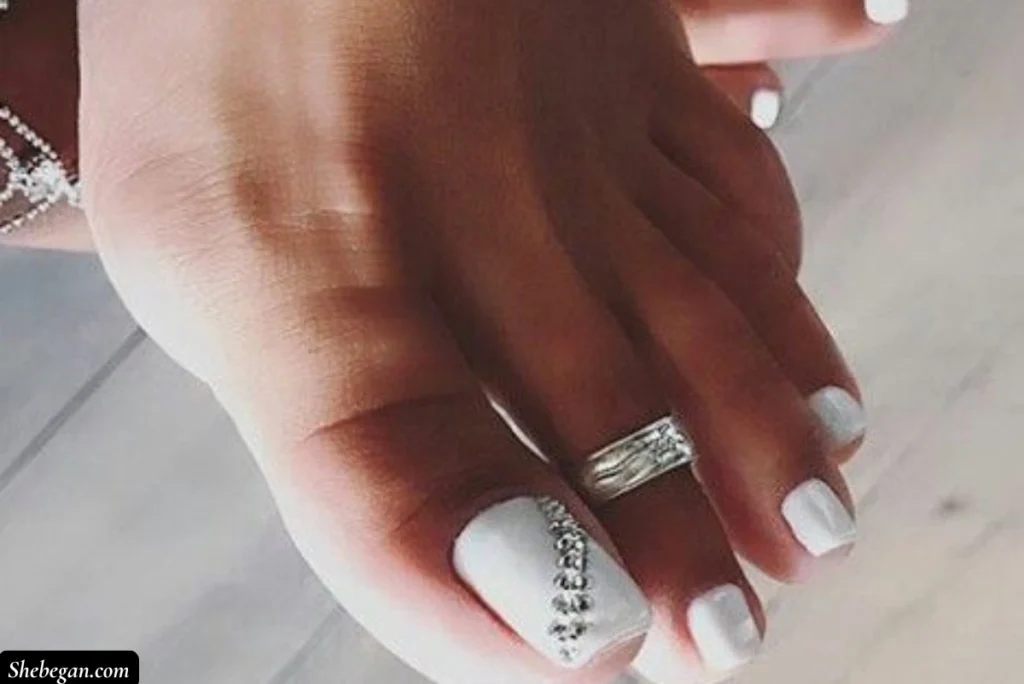
Begin with a protective base coat and cover the nails with white polish for a clean, bright background. Using a dotting tool or the end of a hairpin, place blue dots in one corner of each nail. Add more dots in different bright shades like pink, yellow, or green to fill some of the remaining space.
Keep the dots neat but playful, so they don’t look too uniform. For an extra touch, place tiny rhinestones on one or two nails to give them sparkle and texture. Press the rhinestones in gently so they sit flat on the nail. Finish with a thick layer of top coat to smooth everything out and hold the rhinestones in place.
5. Tropical floral nail
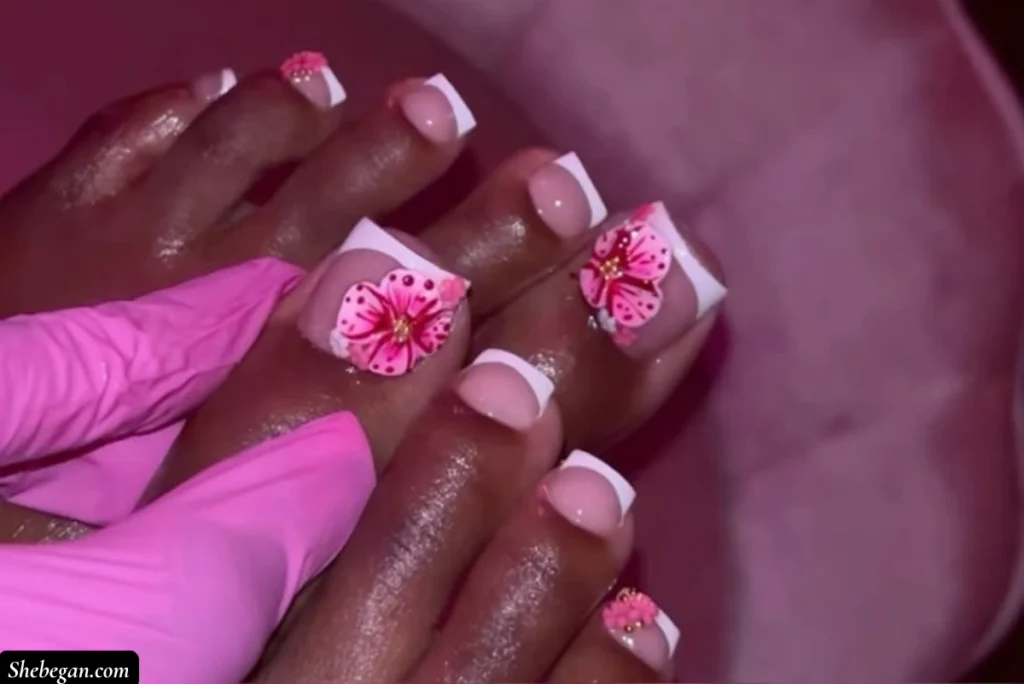
Apply a base coat, then paint the big toe with a bright white polish. Use a small sponge to dab soft patches of pastel pink, light blue, and pale yellow across the nail. Blend them gently so they look soft and cloud-like, but still let the colours show.
With a thin detail brush, paint small, simple flower shapes on top of the background. Add a tiny black dot in the middle of each flower to make the petals stand out.
This design feels light, fresh, and perfect for warm days. Cover it all with a glossy top coat to brighten the colours and keep the flowers from chipping.
6. Cat eye pedicure with holographic studs

Apply a base coat first, then paint all toenails with black polish. On the big toe, use a magnetic cat eye polish for a glowing effect. Hold a nail magnet just above the wet polish to pull the metallic particles into a shimmery line.
Once the cat eye effect is set, place a few holographic studs on the big toe for decoration. The studs will catch light beautifully and complement the shimmer. Seal the whole look with a thick layer of top coat to secure the studs and keep the shine.
7. Water marble hearts or swirls
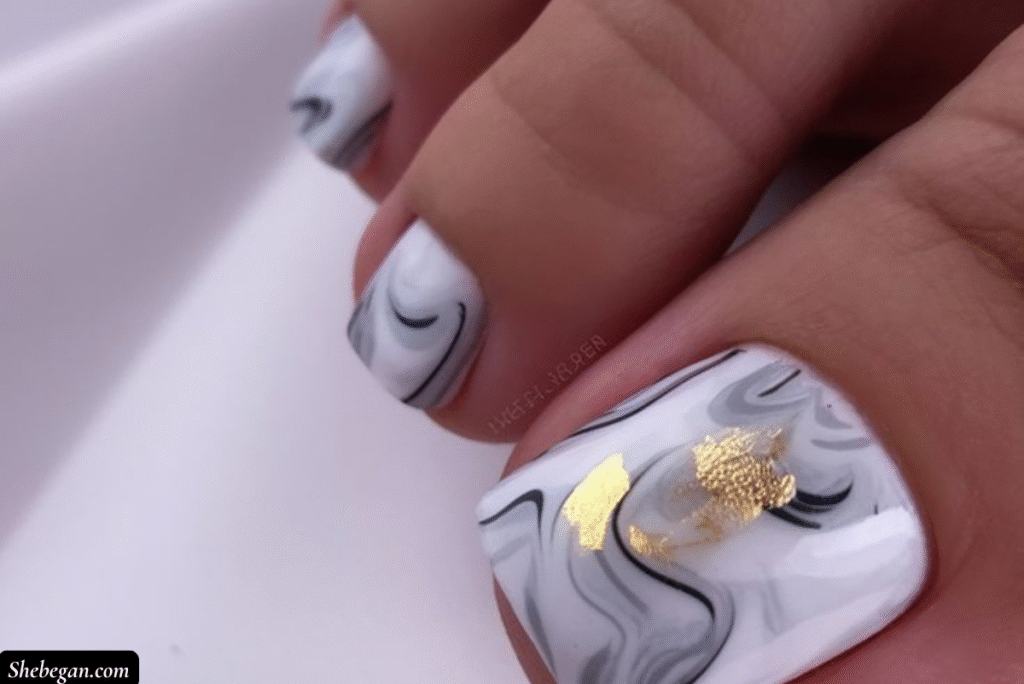
Start with a base coat, then add a layer of white polish to create a smooth canvas. Fill a small cup with room-temperature water. Drop two or more nail polish colours onto the surface of the water, and they will spread out into rings.
Use a toothpick to gently drag lines through the polish to form a swirl or heart pattern. Once the design is ready, dip the big toenail face-down into the water so it picks up the pattern. Remove the toe from the water and clean up any excess polish around the skin with a cotton bud dipped in remover. Seal with a clear top coat to keep the design glossy.
8. Glitter gradient in gold, silver, and copper
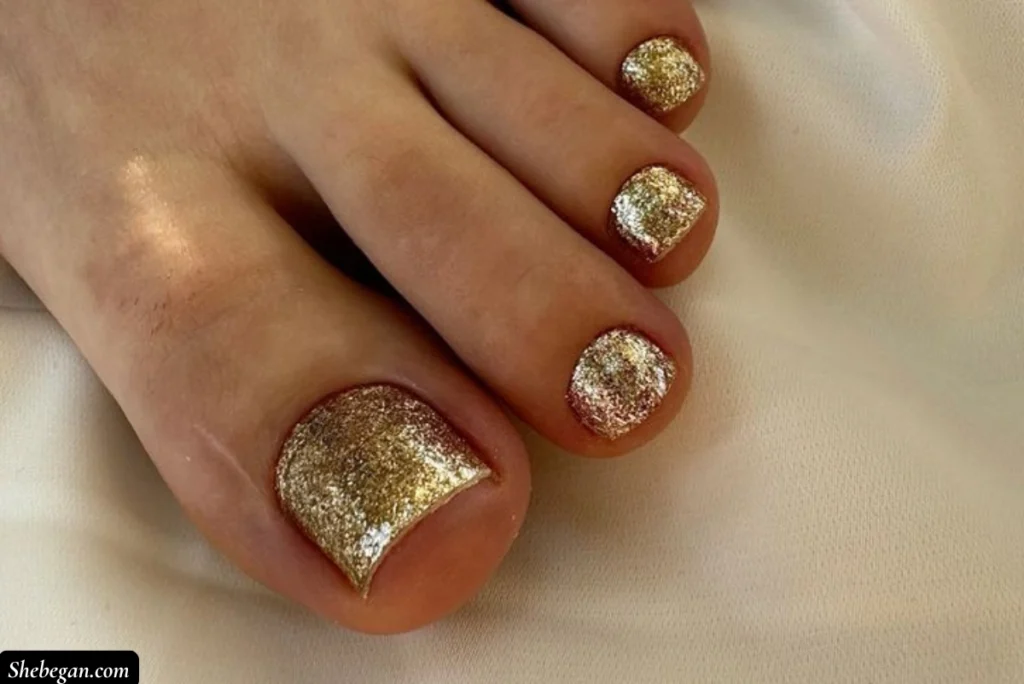
Apply a base coat and paint all toenails black so the glitter will stand out. Using a flat brush, dab gold glitter polish at the base of the nail. Next, add silver glitter to the middle section, slightly overlapping the gold so the blend is smooth.
Finish with copper glitter at the tips. This creates a striking gradient that shifts with the light. Seal with a glossy top coat to bring out the sparkle and keep the glitter from wearing away.
Conclusion
It’s amazing how much a little colour and creativity can brighten up your toes. These designs are pretty, and they’re also simple enough to try at home with a few basic tools. Whether it’s something bold and sparkly or soft and floral, the fun is in playing around and making it your own. Once you get started, it’s hard not to keep experimenting with new looks.