
")
Getting acrylic nail extensions off your nails would be a cumbersome and dangerous exercise, especially when you don’t have an idea of what to do. This is why acrylic nail extension removal is encouraged to be done at a nail salon by a nail technician.
Anyway, you can always remove the acrylic extension yourself and safely at that, but with the guidance of a professional nail technician.
The guidelines and all you need to know to safely take off acrylic nails after they have passed their lifespan will be provided in this post, so read to the very end.
When Should Acrylic Nail Extensions Be Removed?

Acrylic nails can last for about 6 – 8 weeks with refills every two weeks, and how long it would last also depends on how fast your natural nails grow.
Therefore, you can remove your acrylic nail extensions after 6 or 8 weeks, but you have to ensure that you refill and maintain them during this so that they still look aesthetically beautiful and elegant.
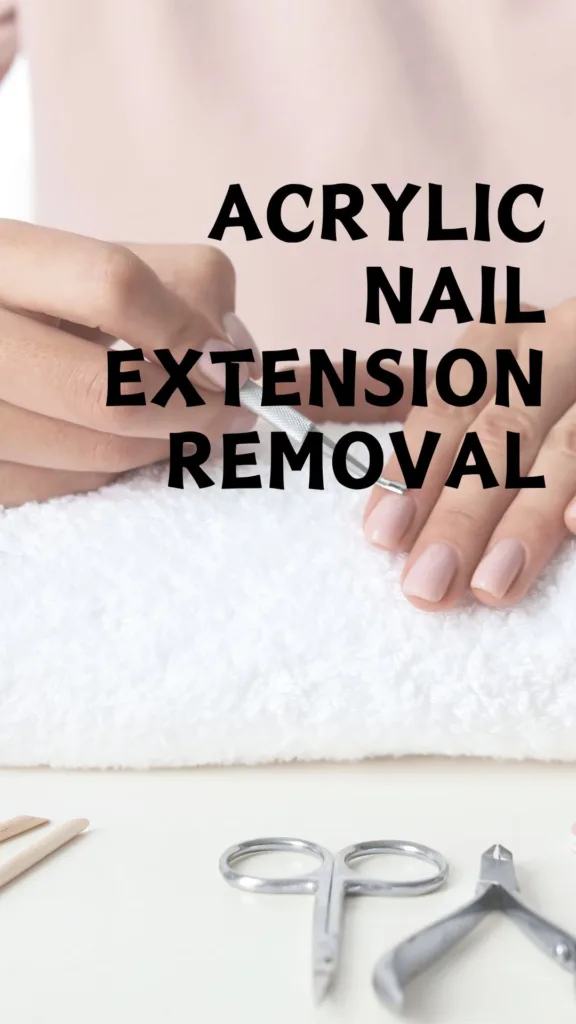
How to Remove Acrylic Nails Without Damage
Removing acrylic nail extensions at home requires patience and careful steps to avoid damaging your natural nails. There are also different ways to get this done, but I will give a step-by-step guide on using acetone to remove acrylic nails at home safely.
Step 1: Prepare your work area
The first step in removing acrylics is setting up a salon area; it has to be a well-ventilated environment, either near a window or around a fan. Also, get all the items you will be using for the job. What you need includes
- acetone(or acetone-free nail polish remover)
- cotton balls or pads
- aluminum foil
- nail file
- cuticle oil or moisturizer
Step 2: Trim the nails
After you are all set and ready to remove the extension, use a nail clipper to trim the acrylic nails as short as possible. This reduces the amount of acrylic you’ll need to dissolve.
Step 3: File the Surface
Now, gently file the shiny topcoat of the acrylic nails to break the seal from your nails. This allows the acetone to penetrate more effectively.
Step 4: Soak in acetone
At this point, you need to soak cotton balls or pads in acetone now and place them on each nail. Afterward, wrap each finger with a small piece of aluminum foil to secure the cotton.
Step 5: Wait patiently
This step is very important to get the acrylic nails off your nails effectively, so you have to allow your nails to soak for 20-30 minutes. The acrylic should start to soften and lift.
To make it faster, you can place a hot towel on your fingers, and it does a great job of hastening the removal process. If you don’t have foils, you can just sock your fingers for about 20 minutes inside acetone.
Step 6: Check progress
After soaking, check the nails. If the acrylic is still hard, reapply the acetone-soaked cotton and wait a bit longer.
Step 7: Gently remove the acrylic
Any acrylic yet to be removed can now be removed using a wooden cuticle stick to push off the softened acrylic gently. Avoid forcing or scraping, as this can damage your natural nails.
Step 8: Clean and Moisturize
Once the acrylic is removed, wash your hands thoroughly and apply cuticle oil or moisturizer to hydrate your nails and cuticles.
Safety Tips to Note During Acrylic Nail Extension Removal
- Ensure you’re in a well-ventilated area when using acetone, as the fumes can be strong.
- Apply petroleum jelly or a barrier cream around your nails to protect your skin from the drying effects of acetone.
- Acetone is highly flammable, so keep it away from open flames and heat sources.
- Limit the time your nails are in contact with acetone to prevent excessive dryness and damage.
- Consider wearing gloves to protect your hands during the removal process.
Can You Take Off Acrylic Nails Without Acetone?
While acetone is the most effective way to remove acrylic nails, you can try alternative methods if you prefer to avoid it. One option is to file down the acrylic nails gradually over time until they are thin enough to be gently lifted or peeled off. However, this method requires patience and may be less efficient than using acetone.
What to Do After You Remove Acrylic Nails
1. Moisturize your nails
After removing acrylic nails, moisturize your nails and cuticles to replenish lost moisture.
2. Nail strengthening treatment
Consider using a nail-strengthening treatment to promote the health and strength of your natural nails.
3. Give your nails a break
Allow your nails some time to recover before applying new nail extensions or polish. This break helps prevent further damage and promotes overall nail health.
4. Regular maintenance
Practice good nail care habits, such as keeping your nails trimmed, using cuticle oil, and avoiding harsh chemicals to maintain healthy nails.
Frequently Asked Questions
What is the easiest way to take off acrylic nails at home?
The easiest way to remove acrylics is by using acetone, but following proper procedures to minimize potential damage is essential.
If done correctly, the risk of harm to your natural nails is significantly reduced.
Can you remove acrylic nail extensions at home?
Yes, you can safely remove acrylic nails if you patiently follow the right steps and make use of the appropriate tools. You can use acetone with warm water, non-acetone nail polish remover, electric file, buffer, hot water, and even something as simple as a laminated card.
Nevertheless, the easiest way to get this job done is to wrap an acetone-soaked cotton ball around your fingers or do an acetone soak.
Take Home
Acrylic nail removal requires patience and practice, especially for a beginner. You might get frustrated for the first time, and it is natural to do so. You can’t rush in your work or expect high results right away. It’s a matter of practice and experience, which will follow with time.
Remember, acrylic nail extension removal is a process, so don’t get upset if it doesn’t all come off the first time.
You can always try again, but be careful, use the correct procedure, and be extremely gentle … and you shouldn’t have any problems.


