

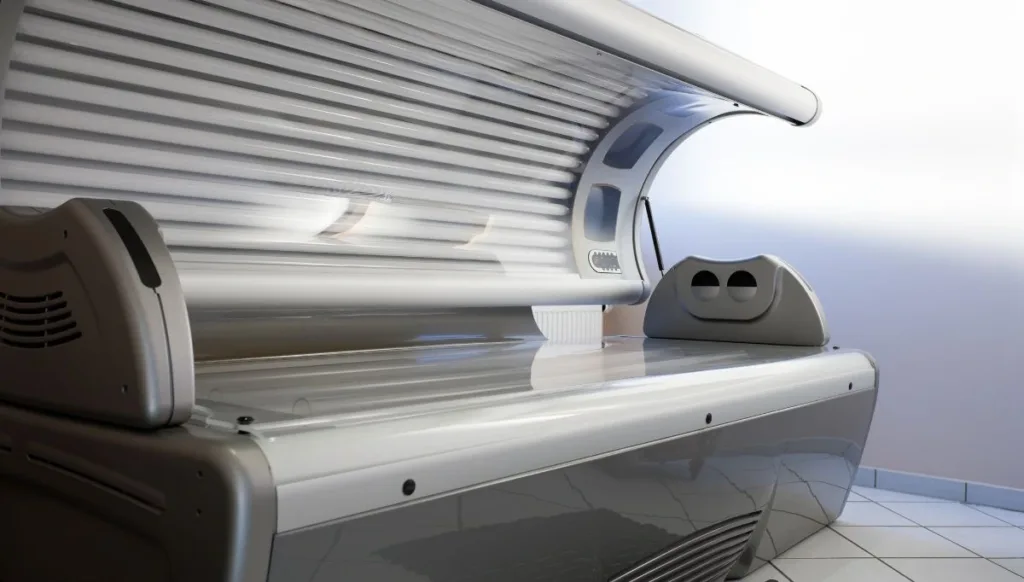
As a lady, looking the best at all times helps to boost your morale. So, accidentally getting acrylic stains on your tanning bed would leave you frustrated. Due to the fact that cleaning a tanning bed can be tricky, and leaving a stain can damage your skin while tanning. You will want to know how to remove acrylic from tanning bed.
Although removing acrylics from tanning beds looks like a difficult task, it is still doable. You don’t have to worry, as there are multiple methods to safely and effectively remove it.
In this post, I’ll explore various methods, including using heat, acetone, and sanding. I’ll also discuss alternatives if you prefer not to remove the acrylic, along with important safety precautions to keep in mind.
How to Remove Acrylic From Tanning Bed
Before you begin the acrylic removal process, make sure you have all the necessary supplies ready. You’ll need acetone or a nail polish remover, a soft cloth, warm, soapy water, a plastic scraper or a credit card, and a microfiber cloth for the final polish.
Step 1. Ensure your safety
Before you begin, ensure the tanning bed is unplugged and completely turned off. Safety goggles and gloves are recommended to protect your eyes and hands during the removal process.
Also, ensure you are working in a well-ventilated area, and avoid inhaling fumes from the acetone or nail polish remover. Safety is paramount when working with chemicals.
Step 2: Remove the screws or fasteners
Begin by identifying the screws or fasteners securing the acrylic sheets; these are commonly situated along the bed frame’s perimeter. Employ a screwdriver or a drill to meticulously extract these fasteners and keep them in a secure location.
Step 3: Softening and clean the acrylic sheet
Now, dampen a soft cloth with acetone or nail polish remover and gently place it on the acrylic residue on the acrylic sheet. Leave it in place for 10-15 minutes to allow the acrylic to soften.
Step 4: Gently scrape off the acrylic
After softening the acrylic, use a plastic scraper or a credit card to scrape the softened acrylic gently. Be cautious not to scratch the tanning bed surface. Use slow, deliberate motions to lift the residue. Apply minimal pressure to do the job.
Step 5: Repeat as needed
If the acrylic doesn’t come off easily, apply more acetone, wait a bit, and try again. Be patient and avoid forcing it. You may need to repeat the process if the acrylic residue is stubborn. Soften it again with the acetone or nail polish remover and continue scraping until the surface is acrylic-free.
Step 6: Clean the tanning bed surface
Once you’ve successfully removed the acrylic, clean the tanning bed surface with warm, soapy water. This will help remove any remaining residue and ensure the surface is spotless. Wipe the area gently to ensure all adhesive is gone.
Step 7: Polish and protect
Once the acrylic is removed, clean and polish the tanning bed acrylic surface with a non-abrasive cleaner to restore its shine. To restore the shine and finish of your tanning bed, use a microfiber cloth to give it a final polish.
This step will make your tanning bed look as good as new. Also, carefully inspect the acrylic surface for any damage or scratches. If you notice any, consult a professional for repair.
Step 8: Maintain and prevent future acrylic buildup
To avoid future acrylic buildup on your tanning bed, consider using a towel or sheet while tanning. Regularly cleaning your tanning bed after use will also help prevent residue from accumulating.
Other Ways To Clean Acrylic Without Damaging The Tanning Bed
1. Use a heat gun to remove acrylic
If you’re dealing with stubborn acrylic residue on your tanning bed, consider using a heat gun. Turn on a hairdryer and set it to the highest heat setting, then hold the hairdryer approximately 3 inches away from the affected area.
Afterward, use a scraper or putty knife to pry the softened acrylic away from the bed frame gently. Repeat the process until all of the acrylic is removed. When using a heat gun, exercise caution, as it can cause burns if mishandled. Wear heat-resistant gloves and safety glasses.
2. Use the sanding method
Sanding is an effective way to remove acrylic from your tanning bed. To use this method, start with a coarse-grit sandpaper, such as 60-grit, to rough up the surface of the acrylic, breaking the bond between the acrylic and the bed frame.
Now, switch to a finer grit, like 120-grit, and continue sanding until the acrylic is completely removed. Be cautious not to sand too aggressively, which can damage the bed frame.
Keep the sandpaper moist with water to prevent dust buildup and hazards. Sanding can be messy, so take precautions to avoid inhaling dust or getting it into your eyes.
4. Cover the affected area
Another way you can use your tanning bed without the acrylic stain affecting you is to cover the affected area with a towel or sheet while tanning. This will not only prevent uneven tanning but also protect your skin from any potential damage.
Tips for Removing Acrylic from Your Tanning Bed Safely
Before you begin the acrylic removal process, ensure your safety:
- Wear gloves to protect your hands. Use safety glasses to shield your eyes.
- For methods involving chemicals or heat, consider using a respirator to avoid inhaling fumes or vapors.
- Before applying any removal method to the entire acrylic surface, perform a test in a small, inconspicuous area to ensure that it won’t cause any damage or discoloration.
- Work in a well-ventilated area to ensure proper airflow and minimize exposure to fumes, especially when using chemicals or heat. Open windows or use fans if necessary.
- No matter which removal method you choose, always approach the task with patience and gentleness. Rushing can lead to damage or incomplete removal.
- If you need help with how to proceed or if the acrylic is particularly stubborn, consider consulting a professional. They can provide expert guidance and assistance.
- If you’re using chemical solvents, read and follow all instructions and precautions listed on the product label. This is essential to ensure safe usage.
Safely removing acrylic from your tanning bed requires attention to safety, patience, and a gentle approach. By following these tips and taking the necessary precautions, you can effectively remove acrylic residue without causing harm to your tanning bed or yourself.
What is The Best Method to Remove Acrylics From a Tanning bed?
One of the most effective method to remove acrylic from a tanning bed is sanding.
Sanding allows you to remove the acrylic layer by layer physically, ensuring a thorough cleanup. However, it’s crucial to use the right grit sandpaper and keep it moist to prevent dust buildup. While effective, sanding should be performed with caution to avoid damaging the underlying surface.
Another viable method is using a heat gun. The application of heat softens the acrylic, making it easier to remove, especially when dealing with larger or stubborn deposits. This method can be effective, but it requires careful handling as heat guns can cause burns if not used correctly.
Therefore, protective gear and working in a well-ventilated area are essential precautions when employing this method. For those who need help with how to proceed or deal with particularly challenging acrylic residue, seeking professional assistance is often the best course of action.
Conclusion
Removing acrylic from your tanning bed can be done using a variety of methods, such as heating, sanding, acetone soak, etc., depending on the degree of damage. However, when doing the job, always prioritize safety precautions before attempting any of these methods.
If removing the acrylic proves difficult, consider alternatives such as covering the affected area with a towel or sheet while tanning or replacing the acrylic material if the damage is severe.
Moreover, If you need more certainty about tackling the removal process yourself or if the acrylic is stubborn and won’t come off, consider hiring a professional tanning bed cleaning service to ensure a thorough and safe cleaning process.


