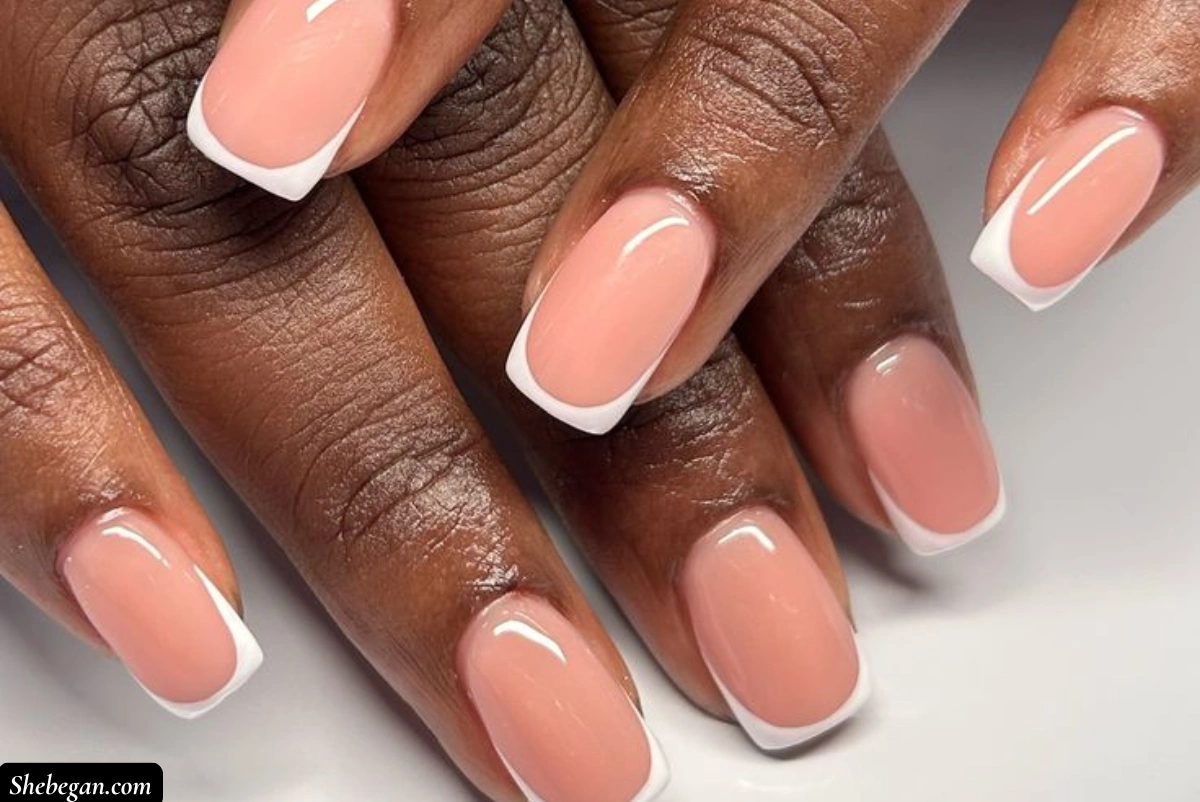
My friend has ridged nails and she always thought French manicures weren’t for her. She loved the clean and classy look but every time she tried it, the polish just never sat right. The white tips would look uneven, and instead of looking chic, it would end up drawing more attention to the ridges on her nails.
She used to feel frustrated, thinking maybe French nails were only for people with smooth, flawless nail beds. And honestly, I used to think the same thing too, until we figured out a few tricks that made all the difference.
The truth is, you can totally rock a French manicure even if your nails have ridges. You just need to know how to prep them right and what products to use. So if you’ve been skipping French manis because of those tiny lines on your nails, don’t worry. You’re definitely not alone and I’ve got some tips that will help.
1. Use a ridge-filling base
If your nails have those visible lines or grooves running down them, I totally get how frustrating it can be to get a nice, smooth French manicure. The white tip always ends up looking bumpy, and it just doesn’t sit well. But the thing that really changed the game for me was using a ridge-filling base coat. This stuff is like a smooth surface in a bottle. It fills in the dips and gives your nails a flat, even base to paint on.
When I used this on my friend’s nails, we both saw the difference right away. Her nails looked smoother and more even, and the polish sat better. It also helped the white tips look sharper and cleaner.
You can find these ridge fillers in most beauty stores or pharmacies. Just apply one or two thin layers before your main polish, and let it dry fully. It makes a big difference and helps you get that clean French look, even with ridges.
2. Gently buff your nails
This step right here can be tricky if you’ve never done it, but it helps so much. Buffing your nails is simply using a soft nail buffer to lightly smooth out the surface of your nail. It won’t remove the ridges completely, but it softens them so they don’t show through the polish as much. I always tell people to go slow and be gentle. You’re not trying to file down your nails, just smooth the top a little bit.
When my friend first tried this, she was worried about damaging her nails, so I showed her how to use a soft, fine-grit buffer and do just a few light swipes. That’s all you really need. If you overdo it, you can thin out your nails and make them weak, which we don’t want. But if you’re gentle and just do a little buffing, followed by a ridge-filling base, it really helps your polish go on much smoother and look more even.
3. Keep your nails and cuticles hydrated
This is one thing I used to skip all the time, but I’ve learned how important it is. Dry nails can actually make ridges look worse. Your nail bed needs moisture just like your skin does. If it’s dry or brittle, those ridges tend to show up more clearly, and polish doesn’t sit as nicely. I started using cuticle oil regularly, and it’s made such a difference for both me and my friend.
You don’t need anything fancy either. I use castor oil or sweet almond oil, just a drop on each nail at night, rub it in, and that’s it. It keeps the nails soft and healthy, and over time, you’ll notice they grow better and feel stronger.
I also apply hand cream during the day, especially after washing my hands. Keeping everything moisturised helps your manicure last longer and keeps those ridges from getting worse.
4. Protect your nails from damage
Sometimes ridges don’t just happen, they get worse because of how we treat our nails. My friend also made the mistake of peeling off gel polish or skipping base coats, and I noticed my nails started to feel rougher and looked more lined. So now I’m much more careful with how I treat them. If you have ridged nails, the last thing you want is more damage.
One of the easiest things you can do is wear gloves when washing dishes or using cleaning products. Those harsh chemicals can dry out your nails and make the ridges worse. Also, try not to use too much acetone or soak your nails too long when removing polish.
That really strips the moisture. I like to give my nails a little break every now and then, just leave them bare with some cuticle oil for a few days. When you protect your nails and treat them gently, they stay stronger and smoother over time.
5. Layer your base coats for a smooth finish
Sometimes one coat of ridge filler doesn’t do the job. So what we do is apply one thin layer, let it dry fully, buff it very lightly, then go in with a second coat. That gives you an even smoother surface, and it makes a big difference in how your French manicure turns out.
This method takes a little more time, but it’s worth it. When my friend tried it, we were both shocked at how clean and fresh her French tips looked. You couldn’t even tell she had ridges underneath. And because it smooths everything out so well, the white tips don’t settle into the ridges or look uneven.
6. Use a good glossy top coat
I always say this step brings the whole look together. It not only seals in your polish and protects it from chipping, but it also helps smooth out any tiny bumps that might still be showing. A good top coat gives your nails that shiny, almost glassy finish that makes them look like you just stepped out of a salon.
Even if you’re just doing a basic manicure, this step gives it that extra touch of polish and neatness. I use top coat every single time now. It makes the white tips pop and gives your nails a smooth, even finish. It also helps your manicure last longer, which is always a plus.
Final thoughts
You don’t need perfect nails to pull off a French manicure. With the right prep and a little care, ridged nails can still look clean, polished, and beautiful. These small steps really do make a big difference, and once you try them, you’ll see how easy it is to get that classic look, even on textured nails.