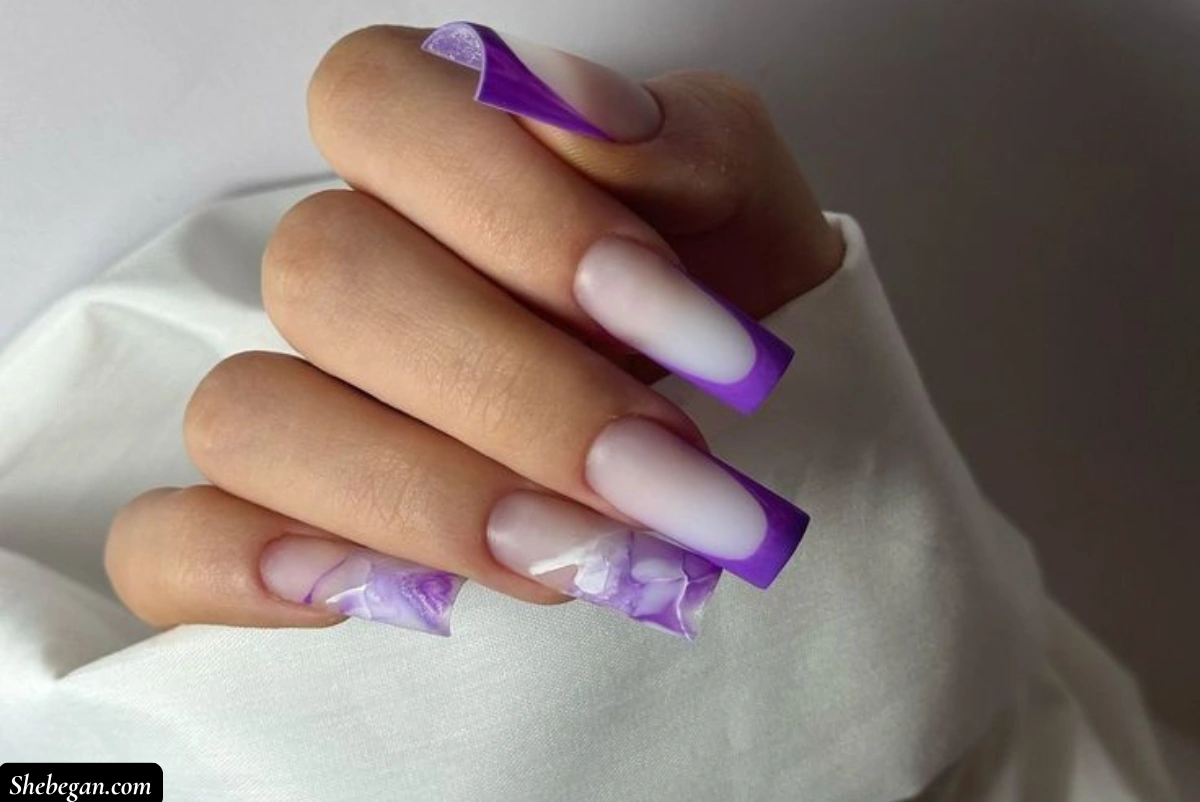
If you like experimenting with your nails at home like me, then you’ve probably tried doing a French manicure yourself. I’ve had those moments where one hand looks pretty decent, while the other one looks like I gave up halfway through. Then there are the wobbly white tips, the polish that somehow ends up everywhere, and that one nail that refuses to match the other nine.
The good news is that you don’t need a perfectly steady hand to get neat French tips. A few simple tricks can make the process much easier, whether you have a silicone stamper, some tape, a sponge or just a nail polish brush. I’ve tried quite a few little shortcuts over time, and these are the ones worth keeping around when you want a clean French manicure without leaving home.
- What Is The Easiest Way To Do A French Manicure At Home?
- What You Need For a French Manicure At Home
- How To Choose The Right French Manicure Hack
- Can You Do a French Manicure On Short Nails?
- How To Fix Common French Manicure Mistakes
- Common Mistakes To Avoid When Doing French Tips At Home
- FAQs
- Wrapping up
What Is The Easiest Way To Do A French Manicure At Home?
If you’re a beginner, a silicone nail stamper or French tip guide is one of the easiest ways to get an even French tip without having to draw the curve freehand. If you want more control, a thin nail art brush is a good option once you feel comfortable painting the smile line yourself.
Whichever method you choose, keep your polish coats thin and have some nail polish remover and a small cleanup brush nearby. You don’t have to get every line perfect on the first try. A little cleanup can make a big difference.
What You Need For a French Manicure At Home
You don’t need a huge collection of nail tools to try these hacks. Start with:
- Base coat
- Sheer pink, nude or milky nail polish
- White nail polish
- Top coat
- Nail file
- Nail polish remover
- Small cleanup brush or thin nail art brush
Depending on the hack you choose, you may also need:
- Silicone nail stamper
- Nail tape or French tip guides
- Washi tape
- Rubber band
- Beauty sponge
- Silicone sponge
- Small coin or bottle cap
- Scissors
How To Choose The Right French Manicure Hack
The easiest hack for you depends on what you struggle with most.
If your biggest problem is getting the curve even, try a silicone stamper or nail tape. If you want a soft, less defined French tip, a beauty sponge is a better choice. If you like doing things freehand and want more control over the shape, use a thin nail art brush.
And if you don’t have any special nail tools at home, don’t worry. A rubber band, tape or a smooth surface can still give you something to work with.
1. Use a silicone nail stamper for easy white tips
A silicone nail stamper is one of the easiest ways to get a neat French tip without trying to draw the whole curve yourself. This was one of those little tricks that made home manicures much less frustrating for me.
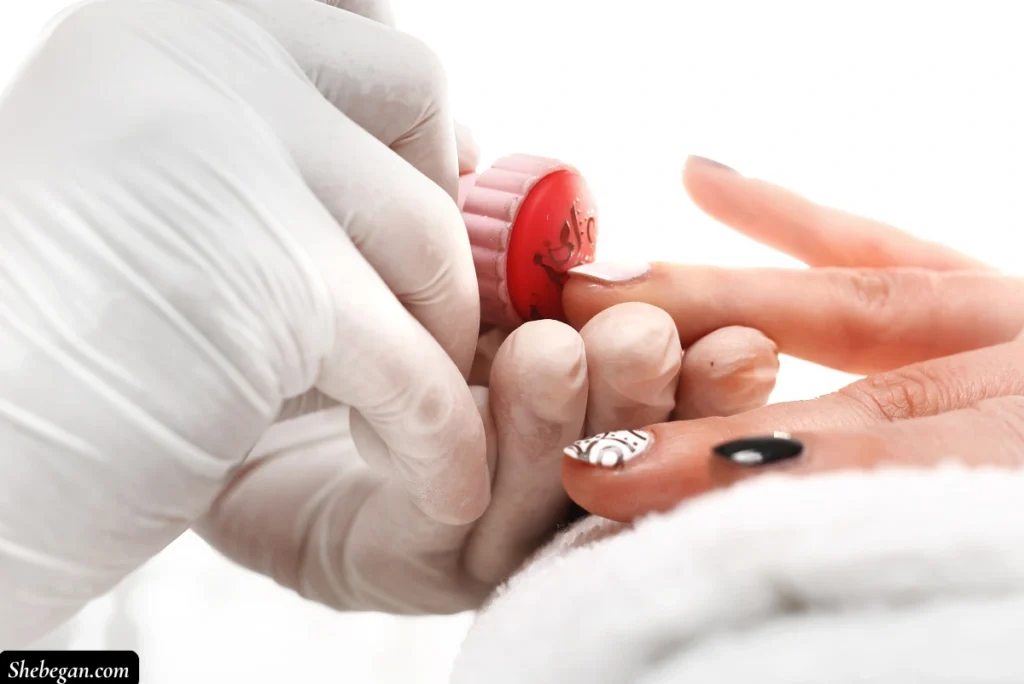
Paint a small amount of white polish onto the silicone surface, then gently press the tip of your nail into the polish. The soft surface lets the polish follow the curve of your nail, so you can get a more even tip.
The trick is not to press too hard. Start with one nail and see how much polish transfers before doing the rest. You can always add a little more, but removing too much white from the base is more annoying.
2. Try a dry silicone sponge for softer tips
If you don’t have a nail stamper, a clean silicone sponge can be another option. I like this one when I don’t want the French tip to look too sharp or heavily painted.
Put a little white polish onto the sponge and gently press the tip of your nail into it. You can build up the white slowly instead of trying to get the perfect amount in one go.
This gives you a softer finish, so it is especially nice if you prefer those subtle French tips that look clean without being too bold.
3. Use hole-punch reinforcements or nail tape
Those little hole-punch reinforcement stickers can actually make handy French tip guides. I know it sounds random, but they can save you when your freehand skills are not cooperating.
Place the sticker across the nail where you want the white tip to start, leaving the end of the nail exposed. Press it down properly around the edges, paint the exposed part with white polish, then carefully remove the sticker.
You can do the same thing with nail tape. Just make sure the tape is sitting flat against the nail so polish does not sneak underneath. This is one of the methods I’d recommend if you want a crisp, defined line without having to paint the curve yourself.
4. Try the rubber band curve trick
This one sounds a little strange, but a clean rubber band can work as a quick guide when you don’t have nail tape nearby.
Wrap the rubber band around your finger and position it across the nail so that only the tip you want to paint is exposed. Then apply your white polish above the band.
The nice thing about this method is that you can move the band slightly higher or lower depending on how deep you want the French tip. Just make sure the band is clean and held securely before you start painting. If it moves around while you work, the curve will not be as neat.
5. Cut tape using a coin as a stencil
If you want a smooth curve but don’t trust yourself to draw one, make your own stencil.
Take a piece of tape and press it gently against the curved edge of a small coin or bottle cap. Cut along the curve with small scissors, then place the tape over your nail so the curved edge marks where your white tip should stop.
Paint the exposed tip, wait until the polish has set enough to avoid dragging, and carefully remove the tape.
This is one of those little tricks that takes a few minutes to prepare but can make the actual painting part much easier.
6. Use a beauty sponge for a soft French effect
A beauty sponge is great when you want a softer French manicure rather than a sharp white line.
Put a small amount of white polish onto a clean sponge and gently dab it onto the tips of your nails. Start with a small amount of polish and build it up slowly. Too much polish at once can make the tip look thick.
I really like this method for days when I want my nails to look done without looking like I spent an hour trying to make every line perfect. You can also blend the white slightly into a nude or pink base for a soft French ombré effect.
7. Use a thin nail art brush for more control
If you actually want to get better at painting French tips freehand, a thin nail art brush is worth trying.
Instead of using the wide brush that comes inside your regular polish bottle, use a small, slim nail art brush. Dip it into your white polish and start at one side of the nail, gently drawing the curve toward the other side. Then fill in the tip.
This takes a little practice, especially if you are using your non-dominant hand, but you get much more control over the shape. You can make the tip thinner, thicker, deeper or more rounded depending on the look you want.
And honestly, there is something satisfying about finally getting that curve right after a few tries.
8. Use washi tape for quick and neat results
If you already have washi tape sitting around, you can use it as a French tip guide too.
Cut a small strip and position it across the nail, leaving the tip exposed. Press it down gently around the edges, paint your white polish, and carefully remove the tape.
The important part is to use a tape that removes easily and does not pull up your base polish. If you are unsure, test it on one nail first.
This method is especially useful when you want to do all ten nails without trying to freehand every single curve.
9. Try the press-and-lift method
If you don’t have a stamper, you can try a simple polish transfer method using a clean, smooth surface.
Put a small amount of white polish onto the surface, then gently press the tip of your nail into it. Lift your nail slowly and check the result.
The trick here is to use a light, even movement. Pressing too hard can leave you with a thick or smudged tip, while lifting too quickly can make the polish uneven.
I like this hack when I’m in the mood to experiment and don’t want to bring out a whole collection of nail tools.
10. Seal your French tips with top coat
A top coat might not sound like much of a hack, but it can make the finished manicure look much more polished.
Once your French tips are finished and the polish has had a little time to settle, apply your top coat over the entire nail. Take it over the tip too so everything looks smooth and sealed.
I used to skip this step when I was in a hurry, and then wonder why my manicure looked dull or started chipping sooner than I wanted. Now I almost always finish with top coat.
A glossy top coat gives you that shiny salon-style finish, while a matte one gives the French manicure a softer look.
11. Try the press-and-dab method for soft lines
Sometimes I don’t want a really defined French tip. I just want a little white at the end of the nail.
For that, put a small amount of white polish onto a soft sponge or small brush and gently dab it across the tip. Start lightly and build the color until you like the effect.
This works especially well over a nude or sheer pink base. The result is softer than a traditional French manicure, so you don’t have to worry as much about getting one perfectly sharp line across every nail.
12. Mix and match the hacks that suit you
You don’t have to choose one hack and use it on every nail. In fact, mixing a few methods can make the whole process easier.
You could use nail tape to create the main line, then use a small cleanup brush to sharpen it. You could use a silicone stamper for most of your nails and switch to a thin brush when you need to fix one. Or you could use a sponge for a soft French look and finish everything with a glossy top coat.
The point is to find the combination that makes doing your nails easier for you. Some days I want the cleanest possible tips, and other days I just want something cute that does not require too much effort.
Can You Do a French Manicure On Short Nails?
Yes, you can absolutely do a French manicure on short nails. The trick is to keep the white tip fairly thin so it does not take up too much of the nail.
A thin French tip can actually make short nails look neat and put together without needing extensions. If you are struggling to fit a traditional French tip onto your nails, try a very narrow tip instead.
This is also where a thin nail art brush can come in handy because you have more control over how much white polish you apply.
How To Fix Common French Manicure Mistakes
Even after all these hacks, you may still have one nail that decides to misbehave. It happens.
1. Fix a crooked smile line
If the white curve is a little uneven, don’t immediately paint more polish over it. Use a small cleanup brush with a little nail polish remover and gently sharpen the edge of the line.
Take your time and clean only the part that needs fixing. Then add a little more white if you removed too much.
2. Clean up polish that has bled under the tape
If polish sneaks underneath your tape or guide, wait until you can safely clean the edge without dragging the rest of the manicure around. A small cleanup brush can help you tidy the line.
For your next nail, press the guide down more firmly around the edges before applying the white polish.
3. Even out a tip that is too thick
If one French tip looks much thicker than the others, you can carefully remove some of the white along the lower edge instead of making every other nail thicker.
This is why I always like having a little remover and a small brush nearby. Fixing one nail is much easier than starting the entire manicure again.
4. Fix a smudged tip
If you smudge the white before it dries, resist the urge to keep brushing over it. That usually makes things worse.
Clean up the damaged part, let the surface settle, then repaint that small area with a thin layer of white polish.
Common Mistakes To Avoid When Doing French Tips At Home
A few small mistakes can make a French manicure much harder than it needs to be.
Using too much polish: Thick white polish is harder to control and can make the tips look bulky.
Trying to make every line perfect in one stroke: You can always clean up the curve afterward.
Using tape on a wet base: Give your base enough time to settle before applying an adhesive guide.
Skipping nail prep: Dust, oil and leftover polish around the nail can make your manicure look messy before you even start the French tips.
Skipping top coat: It is the final step that pulls the whole manicure together.
Trying too many hacks at once: Pick one method first. Once you know what works for you, you can start combining techniques.
FAQs
What is the easiest way to do French tips at home?
A silicone nail stamper or French tip guide is one of the easiest options for beginners because you do not have to draw the entire smile line freehand. If you want more control, use a thin nail art brush.
Can I use regular tape for French tips?
You can use suitable tape as a temporary guide, but make sure it is easy to remove and test it first. Press it down properly around the edges so the polish does not seep underneath.
What brush is best for French tips?
A thin nail art or liner brush gives you more control than a wide polish brush. It is especially useful when you want a very thin French tip or need to make small corrections.
How do I make my French manicure last longer?
Start with clean, properly prepared nails, apply thin coats and finish with a good top coat. Try not to rush the drying process, especially if you are using regular nail polish.
Wrapping up
Doing a French manicure at home does not have to turn into a battle with your own hands. Once you find a method that works for you, the whole process gets much easier.
You might love the silicone stamper, while someone else swears by tape or a thin nail brush. That is why I like having a few different tricks to fall back on. Start with the one that sounds easiest, give it a try, and then mix things up when you feel like experimenting.