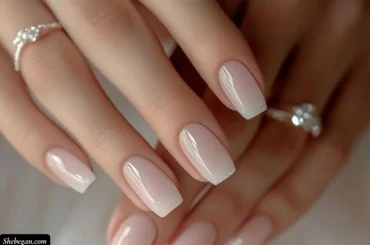
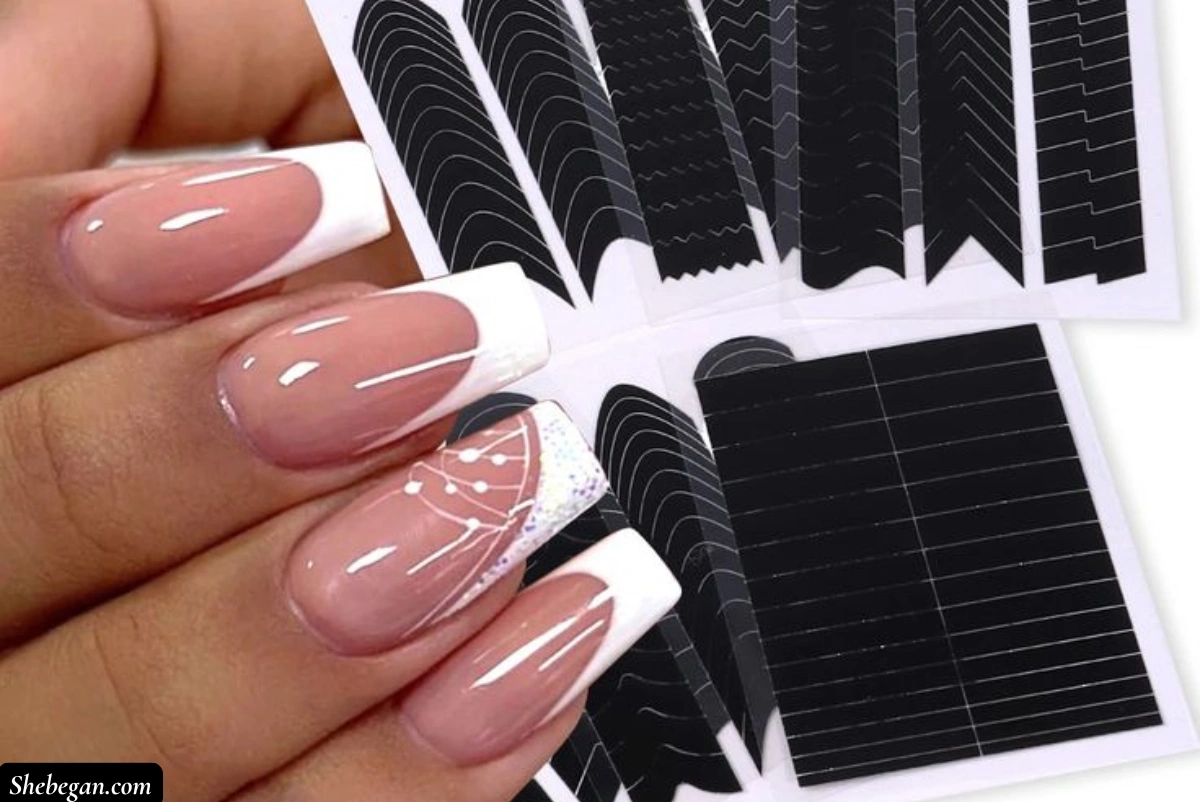
One of the things that always gave me concern was how to do my French manicure without guide strips. You know how it is, you’ve got your polish, your nails are all prepped, and you’re ready to get that clean, classy look. But then, without those little sticker guides, the whole thing suddenly feels like a risky art project.
I used to try holding my breath, tilting my fingers, even whispering sweet words to my brush, just to get that perfect white tip. Sometimes it turned out okay, but most times, I ended up wiping it off and promising myself I’d try again later. It honestly used to bother me, because I didn’t always have strips lying around, and I didn’t want to keep running to the salon every time I wanted those neat little white tips.
Over time, though, I started picking up little tricks, some from friends, some from watching nail videos at 1 am, and slowly, I figured out that there are actually some pretty clever ways to do a French manicure without guide strips. So if you’ve ever been in that same boat, just stick around. I’ll walk you through everything I’ve learned.
1. Use tape if you don’t have guide strips
This was actually the first trick I tried when I couldn’t find any guide strips, and honestly, it saved me a couple of times. I just used plain old scotch tape or nail tape. What I did was cut a small piece of tape, stick it gently across the nail to mark where I wanted the white tip to start, then painted above it. After letting it dry a bit, I carefully peeled the tape off and voilà, clean, straight lines.
The key here is making sure the tape isn’t too sticky. I usually press it lightly on the back of my hand first to take off the extra stickiness so it doesn’t mess up my base coat. It might take one or two tries to get the curve just how you want it, but once you get the hang of it, it works really well. It gives that neat French look without needing anything fancy.
2. Try the rolling technique with your fingertip
This one sounds a bit funny, but it actually works. Instead of moving the brush across the tip of your nail, you keep the brush still and roll your fingertip underneath it. What happens is the curve forms naturally as your nail glides under the brush, and that helps avoid all those wobbly lines.
When I discovered this, I was like, why didn’t I know this sooner? It’s perfect for those days when your hands just aren’t steady. I usually load a little bit of white polish onto the brush, hold it right at the edge of the nail, and slowly roll my finger side to side. It gives a soft and even curve that looks like you spent hours on it, but you really didn’t.
3. Freehand the tip and clean up with a small brush
If you’re feeling a bit brave, you can try painting the tips freehand. I started doing this when I ran out of everything else and just had to make it work. I’d paint a white tip as steadily as I could, then go in with a small brush dipped in nail polish remover to tidy it up. That clean-up step made all the difference.
I just use an old eyeliner brush or one of those tiny nail brushes. You don’t need to be perfect with the first stroke. Just try to get a nice shape, then sharpen it with the brush. It’s actually kind of relaxing once you get used to it, and I love how I get to control exactly how thick or thin I want the tip to be.
4. Use a rubber band as a quick DIY stencil
I know this sounds like one of those odd TikTok hacks, but it works surprisingly well. I take a clean rubber band, stretch it across the middle of my nail, and hold it firmly in place with one hand while I paint the tip with the other. Once the polish dries a little, I remove the rubber band slowly, and there’s your French tip.
I like this method when I’m in a rush and can’t be bothered to cut tape or use brushes. The only tricky part is getting the rubber band in the right position and keeping it from slipping, but once you figure that out, it gives a nice smooth line. It’s honestly one of my favourite lazy-day hacks.
5. Try the upside-down “A” method
This one is a bit creative, but I really love it because it gives you a sort of outline to follow. What I do is paint two diagonal lines like an upside-down “V” across the tip of the nail, then draw a horizontal line to connect them, forming something like an upside-down “A.” After that, I just fill in the white space inside.
It might sound like a lot of work, but once you get into the rhythm, it becomes easy. It’s great for shaping the smile line and works really well if you want something more precise. I use this whenever I want my French tips to look extra tidy, like for events or special outings.
6. Use hole reinforcement stickers
These are the small round stickers used for paper files, and I can’t believe how handy they are for nails. I stick one of them across my nail to form that curved tip shape, press it down gently, and paint the white polish above the edge. After it dries a bit, I peel the sticker off and boom, perfect curve.
I love this method because it’s cheap, easy to find, and it doesn’t require much effort. Plus, it works on all nail shapes. Sometimes I even cut the stickers into smaller shapes if I want more control. It’s a good option if you don’t want to fuss too much but still want that French manicure look.
Conclusion
So these are the little tricks I use when I want a French manicure but don’t have guide strips around. It used to feel like such a big deal, but now it’s one of those things I actually enjoy doing. Some of these methods might seem a bit funny at first, but once you try them, you’ll see how easy and doable they really are.
Just remember, you don’t need to be perfect. Even if the first try isn’t great, there’s always nail polish remover and a second go. Take your time, find the method that feels most comfortable for you, and don’t be afraid to get creative. Once you find your groove, doing your French manicure at home becomes something you’ll actually look forward to.