
Though a new introduction to the nail industry, yet the most loved because of its easy usability and beauty. Polygel nails are a great addition to the world of beauty.
It becomes more attractive to use because it is a great alternative to the well-known traditional acrylics. An extra peck to its usage is it being lighter, stronger, and easier than any other nail enhancement. So can you paint over polygel nails?
Yes, you can. You can use regular nail polish, gel polish, or even acrylic paint to add your own spark and beauty personality to your Polygel nails.
In this blog post, we will look into how to paint over your poly gel nails, I bet you want to know. Come with me.
10 Steps On How to Paint Nail Polish on Polygel Nails
Poly gel nails are largely used by nail lovers not because it’s attractive but also because they can be styled; that is, they can be painted on with different nail polish to showcase the personality and creativity of the user.
It’s important to be mindful of how you do the painting so as not to damage the nail itself.
Here is a step-by-step guide on how to go about it.
1. Prepare the nails
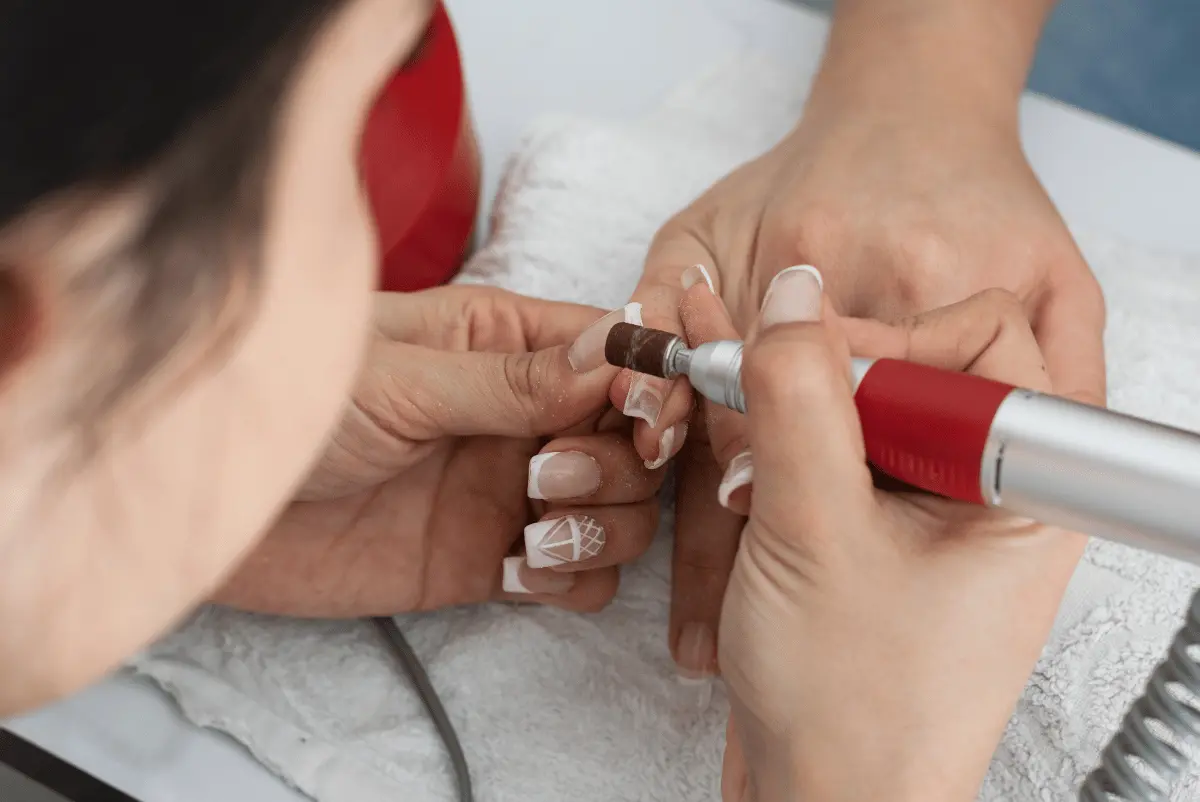
The first thing to do is to prepare the nail. Prepare your nails by gently filing the surface of your polygel nails using a fine-grit nail file. This ensures a scarcely rough texture of the nail, allowing the polish to adhere properly. It’s important to be careful not to file too aggressively, as this will damage the polygel.
2. Use a lint-free nail wipe
Use a lint-free nail wipe or a cotton pad dipped in rubbing alcohol to clean the nail bed gently. Wipe each nail gently to remove any oils, dust, or residue that may have become stuck to it. This ensures that the polish is applied to the nail properly and prevents stains or damage.
3. Apply a base coat
Apply a base coat specifically made for polygel nails. This will make sure that the surface is level and smooth, filling in any imperfections and adding an extra layer of security to your manicure.
Apply it gently, making sure to coat the entire nail with a thin, equal layer. Before proceeding, let the base coat completely dry.
4. Pick a color
Decide on the color of nail polish you want. Pick a high-quality polish with good coverage and lengthy wear time. Remember to shake the bottle well to ensure the procedure is mixed properly.
5. Cover your polygel nails
Your polygel nails should be covered in a thin coat of the selected polish. Be cautious not to let the polish spill as you paint the nail from the base to the tip in even strokes.
It’s crucial to avoid packing the brush with too much polish to prevent dense layers, which can increase drying time. Build up the color, starting with a light coat. Before proceeding to the following step, let the initial coat completely dry.
6. Add a top coat
Once you are satisfied with the color and coverage, add a top coat to finish off your manicure. Select a top coat that offers lustre, sturdiness, and chip resistance.
Each nail should have a thin, equal layer applied over it to ensure complete coverage and color sealing. This process will provide your manicure protection and a shiny finish. Before continuing, give the top coat time to dry thoroughly.
7. Use specialized nail art brushes
Use specialized nail art brushes or equipment to add intricate motifs or patterns to polygel nails. You can create accurate lines, dots, or other intricate designs with the use of these instruments, such as fine brushes or dotting tools.
Create the desired design on the nail by dipping the brush or tool into the selected nail polish color. Before continuing, let the nail art completely dry.
8. Apply a final coat
Apply a final coat of top coat once your nail art has dried to preserve and seal the design. Your nail art will remain colorful and last longer if you do this.
Each nail should have a thin, even coat applied over the entire area to prevent any dragging or blurring of the design. Allow the top coat to finish drying.
9. Apply cuticle oil
Apply cuticle oil every day to maintain your painted polygel nails. To keep your cuticles moisturized and stop dryness or peeling, gently massage a small amount of cuticle oil into each nail and the skin around it.
Additionally, this procedure will enhance gloss and support strong nails. Also, keep strong chemicals and excessive moisture away from your nails, which might make the polish lift or peel.
Tips to Choose A Good Nail Polish to Paint Over Poly Gel
1. Check the formulation
Look for a nail polish that is specifically formulated for use on artificial nails, including poly gel. These polishes are often labeled as gel-like or long-lasting. They are designed to adhere better to the surface of the poly gel and offer enhanced durability.
2. Consider the opacity
Polygel nails can be quite thick, so choosing a nail polish with good coverage is important. Look for polishes that offer high pigmentation and opacity. This will ensure that the color appears vibrant and opaque with just a few coats.
3. Look for good adhesion
Poly gel surfaces can be slightly smooth, so choosing a nail polish with good adhesion is essential. Look for polishes that claim to have a strong bond or good adhesion properties specifically for use on artificial nails. This will help prevent chipping or peeling of the polish.
4. Assess the drying time
Time is important when it comes to painting over poly gel. Some nail polishes have longer drying times, which can be demoralizing when you want to complete your manicure quickly. Opt for polishes that have a quick-drying formula or claim to dry fast. This will save you time and reduce the risk of staining.
5. Read reviews and recommendations
To get an idea of the performance and quality of nail polish, read customer reviews or ask for recommendations from nail technicians or fellow nail enthusiasts. Reviews can give you insights into the application, wear time, and overall satisfaction of the polish.
Can You Put Regular Nail Polish Over Polygel
Yes, you can put regular nail polish over Polygel to make it more beautiful, spice up the look, or even give it a new look. Regular nail polish offers a wide range of colors and designs that may not be available in Polygel. This allows you to achieve different looks and experiment with various shades.
However, the fact that you can apply regular polish over Polygel doesn’t mean you can do that anyhow. Follow the steps listed above to apply regular polish properly.
5 Gel Polishes and Polygel You Can Use
1. CND Shellac
CND Shellac is one of the most popular gel polish brands known for its long-lasting wear and high shine. It offers a wide range of colors and has excellent adhesion to poly gel nails.
2. Gelish
Gelish is another reputable brand that offers a vast selection of colors and finishes. Their gel polishes are known for their durability and easy application. Gelish polishes also work well with poly gel nails.
3. OPI GelColor
OPI GelColor is a favorite among nail professionals for its vibrant colors and long-lasting results. The brand offers a wide variety of shades to choose from, and their gel polishes are compatible with poly gel.
4. Kiara Sky Gel Polish
Kiara Sky Gel Polish is highly regarded for its high-quality formula that provides outstanding coverage and chip resistance. They offer diverse colors and have good adhesion to poly gel nails.
5. Ampro Ho Beetles Gel
Ampro Ho Beetles Gel is known for its vegan and cruelty-free gel polishes. Their extensive collection of colors is loved for their longevity and rich pigmentation. Their gel polishes are compatible with poly gel.
Conclusion
The nail industry has been an important part of beautification and the nail art and design is adorable.
The invention of the poly gel is a good one because it can be styled and used in different ways to please users.
The poly gel becomes more attractive to use at any time largely because it is a tremendous option to the well-known traditional acrylics. Make magic with your nails; look classy and elegant.