

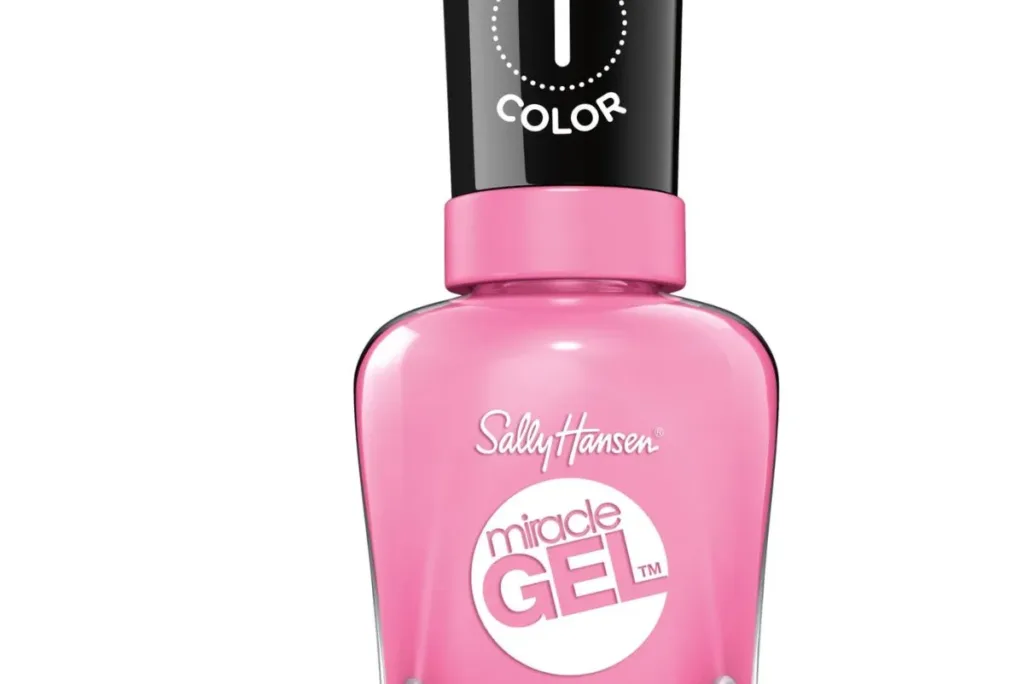
If you’re a fan of beautiful, long-lasting nails, chances are you’ve heard about Sally Hansen Miracle Gel. This innovative nail polish promises a salon-quality finish without the need for UV lights. But one common question many users of this nail polish have is, “How long does Sally Hansen Miracle Gel take to dry?”
The good news is that Sally Hansen Miracle Gel is known for its relatively quick drying time compared to traditional nail polish. Each Miracle Gel nail polish coat takes about 5 to 10 minutes to dry thoroughly.
However, several factors can influence the drying time, and I will be sharing these factors to help you achieve the best results. So, getting Sally Hansen Miracle Gel will be an excellent choice for fabulous nails with a quick drying time, whether you’re getting ready for a special occasion or just pampering yourself.

6 Factors Influencing Sally Hansen Miracle Gel Drying Time
The drying time of Sally Hansen Miracle Gel nail polish can vary based on several factors. Some of these factors aid speedy drying time while some slow down the drying. These factors include:
1. Coat thickness
The thickness of the layers you apply significantly affects drying time. Thicker coats take longer to dry, so using thin, even layers will aid quicker drying, while applying thick layers will slow drying time.
2. Humidity levels
The humidity in your environment is also a factor that influences drying time. The drying time may vary depending on the humidity levels in your environment. Higher humidity levels tend to slow the drying process, while lower humidity generally speeds it up.
Although this may sound out of place, you must consider your surroundings when applying Miracle Gel for optimal results.
3. Top coat application
You’ll need to apply the Miracle Gel Top Coat to seal in your Miracle Gel manicure and give it that glossy finish. While this step is essential for a beautiful look and achieving a glossy finish and durability, it can also influence the drying time.
The top coat enhances the shine and provides added protection and longevity to your manicure. The top coat helps lock in the color and speeds up the drying time.
4. Air drying process
Sally Hansen Miracle Gel dries naturally in regular light, relying on air exposure to harden and set. While it may take longer than UV-cured gel polishes, this method ensures you don’t need specialized equipment.
5. Environmental temperature
The temperature in your environment can affect the drying time. Warmer temperatures generally expedite drying, while colder temperatures may slow it down.
6. Nail preparation
How well you prep your nails also goes a long way in determining the drying duration. Ensure your nails are clean and dry before applying Sally Hansen Miracle Gel. Any moisture or oil on your nails can hinder the drying process.
Why Does My Sally Hansen Miracle Gel Take Time To Dry?

The reason why your Sally Hansen Miracle Gel takes time to dry might be that you are applying a very thick coat. Applying thicker coats of nail polish, whether Miracle Gel or any other type, will naturally take longer to dry. To speed up drying, try to use thin, even layers.
What I Love About Sally Hansen Miracle Gel
As a lover of elegance and beautiful nails, I was constantly on the move, searching for the perfect nail polish that combines stunning colors, durability, and an easy application process. Finding nail polish with these features can often feel like searching for a hidden treasure in nail care and fashion.
However, Sally Hansen Miracle Gel met my expectations and has become my go-to nail polish for several compelling reasons, which include:
1. Salon-worthy finish at home
Sally Hansen Miracle Gel offers a gel-like finish without needing a salon visit. Its smooth, shiny texture gives your nails a professional appearance that’s easy to achieve in the comfort of your home—no more expensive salon appointments or lengthy drying times – just salon-worthy nails in minutes.
2. Diverse color palette
The variety of shades in the Miracle Gel collection is like a treasure trove for nail lovers. There’s a shade for every mood and occasion, from soft pastels to bold neons and sophisticated nudes. I love its versatility, allowing me to express my personality through nail color.
3. Effortless application
Applying Sally Hansen Miracle Gel is a breeze. The brush glides smoothly, ensuring even coverage and reducing the chances of streaks or clumps. It’s a game-changer for those who value a hassle-free manicure.
4. Long-lasting brilliance
What truly sets this nail polish apart is its impressive longevity. With Miracle Gel, I no longer worry about chipped or faded nails within days of application. The color remains vibrant and chip-resistant for up to two weeks, regardless of my daily activities.
5. No UV lamp is required
Unlike traditional gel nails, you don’t need a costly UV lamp to cure Sally Hansen Miracle Gel. It’s a simple two-step process involving the color and topcoat. This means less equipment and time, making it accessible and convenient for everyone.
Sally Hansen Miracle Gel has transformed my nail care routine into a delightful, stress-free experience. Its salon-quality finish, stunning color range, ease of application, and exceptional durability make it a beloved choice for nail enthusiasts like me. If you’re looking for a nail polish that combines beauty, convenience, and longevity, try Sally Hansen Miracle Gel. It might become your new nail care treasure, as it did for me.
How To Apply Sally Hansen Miracle Gel
Sally Hansen Miracle Gel dries faster than other nail polish, but the drying time is also influenced by how you apply it. To enjoy the quick drying time Sally Hansen Miracle Gel has to offer, follow the steps below when using it:
Step 1: Prepare your nails
Start with clean, dry nails. Remove any existing nail polish with nail polish remover.
If needed, shape your nails with a nail file and gently buff the surface for a smooth finish. Be gentle to avoid damaging the nail.
Step 2: Choose your Miracle Gel color
Select your desired Miracle Gel color. Shake the bottle well to ensure even consistency.
Step 3: Apply the Miracle Gel color
Start with one thin, even coat of Miracle Gel color. Begin at the base of your nail and brush upward towards the tip, leaving a small gap at the cuticle to avoid flooding.
If needed, apply a second coat for a more vibrant color. Allow each coat to dry for a minute or two before proceeding.
Step 4: Apply the Miracle Gel topcoat
Once your Miracle Gel color is dry, apply one coat of the Miracle Gel topcoat. This topcoat is essential for the gel-like finish and durability of your manicure.
Step 5: Allow color to dry for 5 minutes
Sally Hansen Miracle Gel does not require a UV lamp, unlike traditional gel nails. Let your nails air dry for the curing process. This can take 5 minutes.
If you’ve made any mistakes or gotten polish on your skin, use a small brush or cotton swab dipped in nail polish remover to clean up the edges for a neat finish.

Frequently Asked Questions
Why is my Sally Hansen Gel polish not drying?
A few reasons might be causing the problem, such as the humidity of your environment and the color you are using. Some colors take more extended periods to dry, and the thickness of your coat can also hinder drying time.
Final Verdict
Sally Hansen Miracle Gel dries naturally in regular light, and you can expect each coat to dry within approximately 5 to 10 minutes under normal conditions. And it doesn’t require special UV or LED lamps.
However, several factors influence the drying time of Sally Hansen Miracle Gel, including the thickness of the coats, humidity levels, top coat application, air exposure, and environmental conditions.
Proper application techniques and consideration of factors allow you to enjoy beautiful, long-lasting nails without a long wait. So, the next time you use Sally Hansen Miracle Gel, you can confidently flaunt your stunning nails sooner than you might think.




1 Comment
Thank you. I have a UV light, could using it help this polish be even more durable?