

As nail polish ages, it can naturally thicken due to exposure to air, evaporation of solvents, and changes in temperature. Or even get old out of abandonment. So, what do you do in such cases, how do you revive old nail polish?
To revive old polish, you can use thinner or acetone to help restore its original consistency. Reviving old nail polish not only restores it back to its original form, but it is also a sustainable and eco-friendly practice.
In this blog post, I will share different ways you can revive your old nail polish and answer some questions.
6 Ways to Revive Old Nail Polish
Below are a few ways to restore your old nail polish back to its original form;
1. Use thinner
Thinning nail polish is a practical and effective method for reviving old nail polish that has become thick and difficult to use. Here’s an explanation of the process for thinning nail polish:
- Open the nail polish bottle and locate the small, plastic dropper that often comes with the nail polish thinner.
- Carefully add a few drops of the nail polish thinner into the bottle. The number of drops required will depend on how thick the nail polish has become. Start with a conservative amount, typically 2-3 drops.
- Hold the bottle securely with both hands and shake it gently. You want to mix the nail polish thinner with the thickened polish thoroughly. Avoid vigorous shaking, as it can create air bubbles.
- After shaking, test a small amount of the nail polish on a nail or a piece of foil to check the consistency.
- If the polish is still too thick, repeat the process by adding a few more drops of nail polish thinner and shaking gently until you achieve the desired consistency.
2. Go for acetone
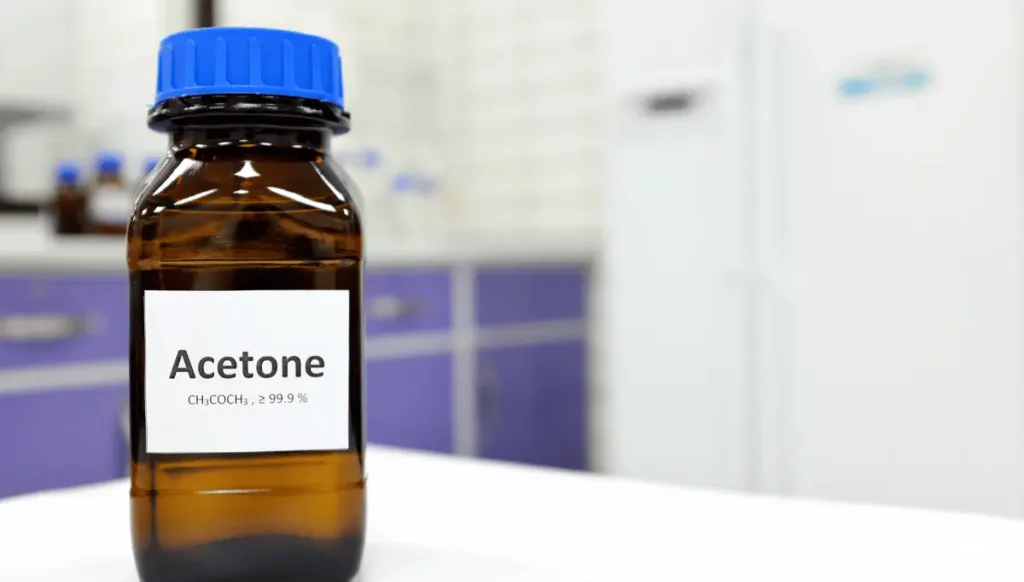
Acetone is a good resort if you don’t have access to a nail polish thinner. However, please note that acetone is a more aggressive solvent and can potentially alter the consistency of your nail polish. Here’s how to use acetone to revive old nail polish:
- Check the nail polish bottle for any dried or hardened polish around the neck or cap. Remove any obstructions to ensure a proper seal.
- Open the nail polish bottle and pour a small amount of acetone directly into the bottle. Start with a small quantity (around 3-5 drops) to avoid over-thinning the polish.
- Close the nail polish bottle securely to prevent acetone from evaporating.
- Hold the bottle with both hands and shake it gently to mix the acetone with the thickened nail polish. Avoid vigorous shaking to prevent air bubbles.
- After shaking and the polish is still too thick, add a few more drops of acetone and repeat the shaking and testing process until you achieve the desired consistency.
- Once you’ve achieved the right consistency, tightly seal the nail polish bottle.
3. Filter the nail polish
Filtering nail polish is an effective method to revive old nail polish that has become clumpy or contains foreign particles. This process involves removing any debris, lumps, or dried bits from the polish, resulting in a smoother and more consistent application. Below is how to go about it;
- Decide whether you want to use a coffee filter or a fine mesh sieve to filter the nail polish. Both methods work well, but a coffee filter is readily available in most households.
- If using a coffee filter, secure it over the mouth of a clean container or funnel. If using a sieve, place it over a clean container.
- Ensure the container or funnel is clean to avoid contaminating the filtered polish.
- Carefully open the old nail polish bottle.
- Hold the bottle above the filter or sieve, and slowly pour the nail polish into it. This will strain out any clumps or debris, leaving you with smoother polish in the container or funnel below.
- Allow the nail polish to filter through the coffee filter or sieve naturally. This may take a few minutes, depending on the thickness of the polish.
- If you prefer, you can transfer the filtered nail polish back into the original bottle or a new, clean nail polish bottle using a funnel.
- Store the filtered nail polish upright in a cool, dark place to prevent premature thickening.
4. Shake and roll technique
This method involves shaking and gently rolling the nail polish bottle to mix the formula and restore its original consistency. Here’s how to use the shake and roll technique to revive old nail polish:
- Hold the nail polish bottle firmly in your hand.
- Shake it vigorously for about 30 seconds to one minute. This helps mix the formula and break up any clumps or separation.
- After shaking, turn the bottle between your palms horizontally.
- Gently roll the bottle back and forth for a few minutes. This rolling motion helps further mix the polish and distribute any separated ingredients.
- Open the nail polish bottle and check the consistency by applying a small amount to a nail or a piece of foil.
- If the polish is still too thick or contains lumps, consider repeating the shake and roll process until you achieve the desired consistency.
- Tightly seal the nail polish bottle to prevent air from entering and thickening the polish again.
- Store the revived nail polish upright in a cool, dark place to prolong its shelf life.
5. Use hot water to revive nail polish
- Boil water and let it cool slightly (it should still be very hot but not boiling). Pour the hot water into the heatproof container, filling it to a depth that will allow the nail polish bottle to be submerged without water entering the bottle.
- Carefully place the closed nail polish bottle into the hot water bath, ensuring that the water level is below the cap to prevent water from getting into the nail polish.
- Allow the nail polish bottle to sit in the hot water bath for about 5 to 10 minutes. The heat will help soften the nail polish and make it more fluid.
- Carefully remove the nail polish bottle from the hot water bath using tongs or a towel to protect your hands from the hot glass.
- Close the bottle securely and shake it vigorously for about 30 seconds to one minute to mix the softened polish thoroughly.
- If the polish is still too thick or contains lumps, consider repeating the hot water bath and shaking process until you achieve the desired consistency.
6. Cleaning the bottle neck
Below is how to clean the bottle neck as part of the nail polish revival process:
- Dip a cotton swab or cotton ball into nail polish remover or acetone. You only need a small amount on the cotton.
- Gently rub the soaked cotton swab or cotton ball around the neck of the nail polish bottle, targeting any residue or buildup.
- If the residue is stubborn, you can apply a bit more nail polish remover and continue cleaning until the neck is clean.
- Use a clean part of the cotton swab or a new cotton ball to wipe away any dissolved residue from the bottle neck.
- Examine the bottle neck to ensure it is free of any polish residue and feels smooth to the touch.
- Once the neck is clean and free of any obstructions, close the nail polish bottle tightly to ensure a proper seal.
- Store the nail polish bottle upright in a cool, dark place to prolong its shelf life.
Can You Use Hand Sanitizer to Revive Nail Polish?
Yes, you can use sanitizer to revive nail polish. It contains alcohol, which is a solvent that can thin nail polish. However, it often contains other ingredients that may not be suitable for nail polish and could alter its formula or color. It’s best to use nail polish thinner, specifically designed for this purpose, to safely and effectively restore the consistency of old nail polish.
Conclusion
You can use thinner, acetone, and filter to revive old nail polish as I’ve explored in this guide. So, if you choose to thin it, filter it, use hot water, or clean the bottle neck, the key is to approach the process with care and patience.
Note that, nail polish revival is not just about salvaging old shades; it’s also a sustainable and eco-friendly practice. By extending the life of your polish, you contribute to reducing environmental waste and the resources needed to produce new nail polish.


