
If you want a polished and long-lasting result after getting your nails done, then you should be a constant user of nail dehydrators. Nail dehydrator helps in reducing the excess moisture and oil on your nails for better adhesion.
But are they cost-effective options that offer the same results? What is a substitute for a nail dehydrator?
An effective, common substitute for nail dehydrator that I have used is rubbing alcohol (isopropyl alcohol).
Some ladies I have talked to testify to the effectiveness of this readily available product in cleaning and dehydrating their nail surfaces before applying nail polish or extensions. Rubbing alcohol excellently removes oils and residue from the nails, thereby promoting better adhesion of nail products.
In this blog post, I will bring you 6 diverse options for nail dehydrators that you should consider. I will also guide you on how to dehydrate your nails properly. So, read on.
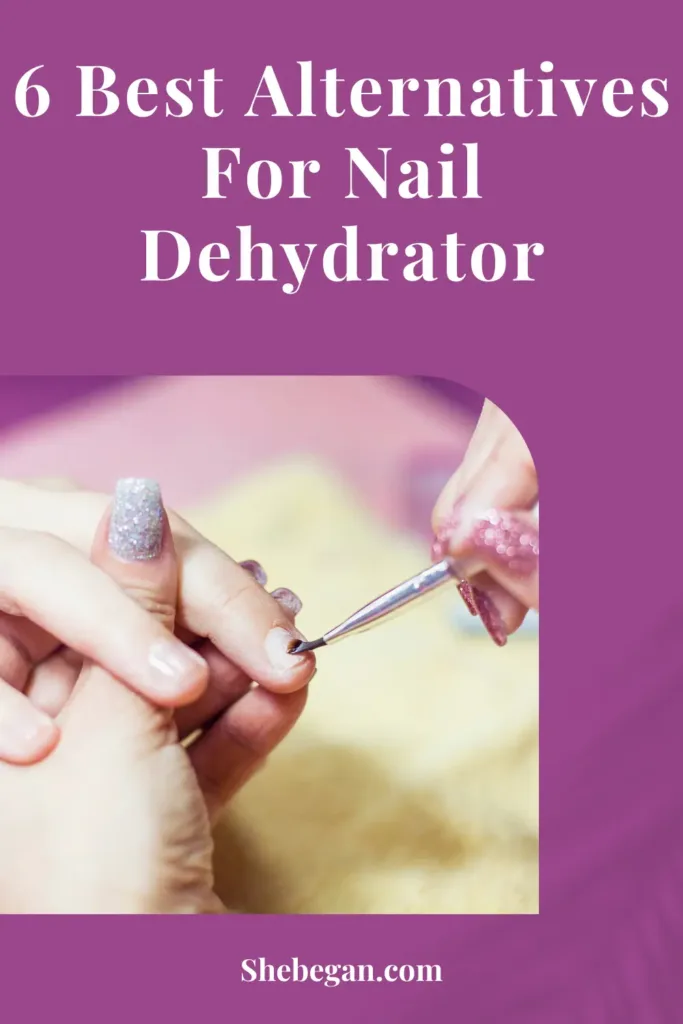
6 Best Alternatives For Nail Dehydrator
Below are some substitutes for nail dehydrators you should consider;
1. Acetone
If you are a regular user of nail products, then I bet you have heard of Acetone. This is a widely available and effective substitute for nail dehydrator. You can use it to not only remove existing nail polish but also cleanse the nail surface by eliminating oils and residues.
Thereby preparing your nails for the application of fresh nail products. When using Acetone as a nail dehydrator, I advise you to use pure acetone and apply it sparingly to avoid excessive drying of the nails and cuticles.
2. Witch hazel
Another product you should consider as an alternative to nail dehydrator is Witch hazel. This is a natural astringent popular for its gentle cleansing properties.
You should simply apply it to a cotton ball or pad and swipe it on your nails to get rid of oils and contaminants. As someone with sensitive nails, I prefer Witch Hazel to acetone or alcohol, as it’s less harsh, making it a suitable choice.
3. Vinegar
When you mix white vinegar with water ( ensure it’s in a 1:1 ratio), it can serve as an effective DIY nail dehydrator solution.
It helps in purifying the nails and can balance their pH, thereby offering you better adhesion of nail products. Meanwhile, when you use this mixture, ensure to rinse your nails with plain water and allow them to dry thoroughly.
4. Lemon juice
Lemon juice comes with its natural acidity, which you can use to cleanse and dehydrate your nail surface.
You simply squeeze fresh lemon juice onto a cotton pad or ball and rub it gently on your nails. You should rinse with water and let your nails dry before applying nail products.
5. Hydrogen Peroxide
To remove oils and bacteria from your nails, you can use a diluted solution of hydrogen peroxide. Simply immerse a cotton ball or pad into the mixture, then rinse with water and pat dry thoroughly before proceeding with your nail enhancement.
6. Nail cleanser or base coat
Some nail polish brands offer specialized nail cleansers or base coats designed specifically for dehydrating and priming the nails.
These products are formulated to prepare the nails for nail polish or extensions, ensuring you have a smoother and longer-lasting application.
Tips On How To Dehydrate Your Nails Properly
Here’s how you can dehydrate your nails properly;
1. Cleanse first
Before you proceed to the nail preparation or enhancement process, you should start with cleaning the nail.
You should take out any existing nail polish or residue using a gentle nail polish remover. This will ensure you have a clean canvas for better adhesion of your nail products.
2. Use a mild dehydrator
Whether you decide to purchase a commercial nail dehydrator or use a substitute like rubbing alcohol, ensure it’s mild.
You should also apply the dehydrator sparingly. Too much can strip your nails of their natural oils excessively, thereby causing them to dry and potentially damage. So, a few drops or a light swipe is usually sufficient.
3. You should apply with care
When you are applying the dehydrator, you should use a lint-free cotton ball or pad. Gently swipe it across your nails, reaching the entire nail plate.
You should pay attention to the edges and corners to ensure you have thorough coverage. You should also avoid excessive rubbing or pressure, as this can weaken the nail surface.
4. Allow it to dry thoroughly
When applying the dehydrator, you should patiently allow it to air dry completely. This will ensure that you have no residual moisture left on your nail surface. This is because moisture can interfere with the bonding of nail products, thereby leading to premature chipping or lifting.
5. Follow with a base coat
Lastly, you should consider applying a clear base coat after dehydrating your nails. This will not only offer your nails an additional layer of dehydration but also create a smooth and even surface for nail polish or extensions to adhere to.
It serves as a protective barrier, thereby preventing any stains on your natural nails and promoting the longevity of your manicure.
Final Words
A nail dehydrator is essential for a polished and sophisticated nail appearance. However, if you don’t have a nail dehydrator or are sensitive to the ingredients of a nail dehydrator, you may want to consider other options.
There are several alternatives to nail dehydrators, including Acetone, lemon juice, Hydrogen Peroxide, etc. Ensure to follow the tips I mentioned above to achieve an elegant and long-lasting nail enhancement result.