For those passionate about nail art but reluctant to commit time or expense to frequent manicures, nail stickers offer a convenient solution. However, their limited longevity can be a drawback. So, in order to preserve nail stickers longevity, do you put top coat over nail stickers?
Yes, applying a topcoat over nail stickers is highly recommended. This is because top coat acts as a protective shield and ensures your nail stickers remain vibrant and well-maintained over time. However, it not only enhances the stickers’ longevity, preventing premature wear, but also adds a glossy finish for a polished and professional look.
This blog post will cover how to apply top coat over nail stickers, the dos and don’ts of the application, as well as the benefits of using top coat over nail stickers.
Steps to Apply Top Coat Over Nail Stickers
Applying a top coat over nail stickers is a straightforward process that enhances the longevity and appearance of your nail art. Here are the steps to follow:
1. Prep your canvas
Before diving into sticker application, proper nail preparation is key. Clean your nails thoroughly and apply a clear nail polish as a base coat. This step is crucial as it ensures better adhesion, addressing the natural oils produced by your nails that might hinder the stickers from sticking effectively.
2. Choosing the right size stickers
Nail stickers typically come in various sizes. Before peeling off the backing, select the appropriate size for each nail.
3. Lift and place stickers gently
Use a nail pusher and tweezer to delicately lift the sticker from its backing. Avoid touching the sticky side to preserve adhesiveness. Gently place the sticker on the nail, smoothing it from the center to the edge to eliminate air bubbles.
4. Trim and file
Trim excess edges using scissors, followed by using a nail file to ensure smooth edges.
Repeat these steps for each nail, maintaining precision for a polished look.
5. Elevate your design with 3D effects
For those craving extra flair, layer additional nail designs on top of the base sticker for a 3D effect. Follow the same steps to seamlessly integrate these embellishments into your nail art masterpiece.
6. Seal the deal with a top coat
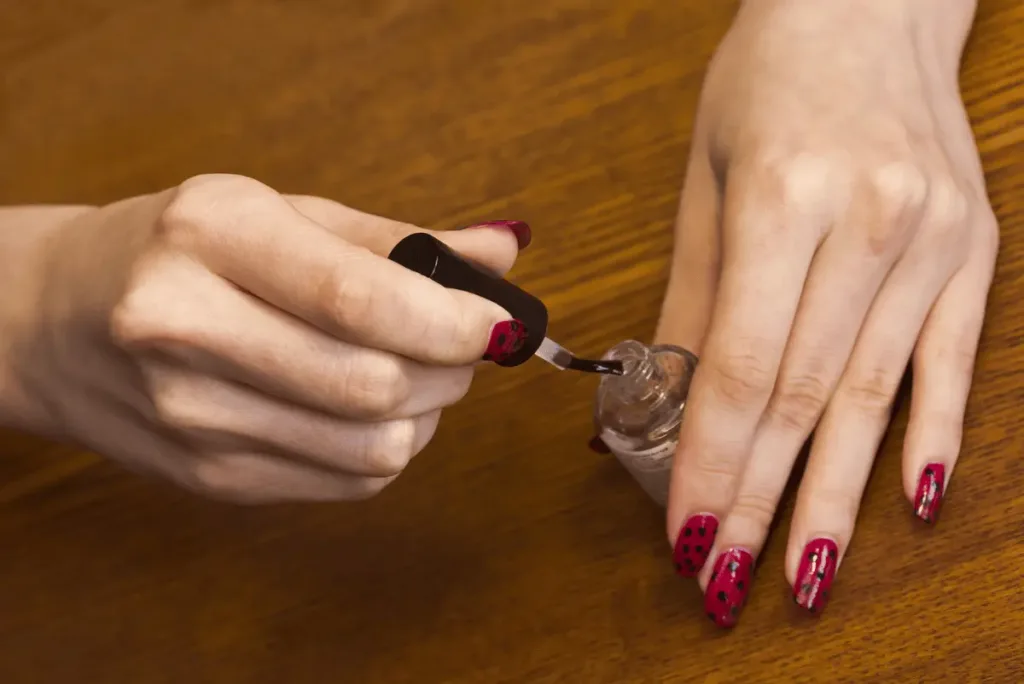
To enhance durability and add a glossy finish to your nail art, apply a clear top coat over the entire nail. This step not only seals the stickers but also provides protection and ensures a longer-lasting manicure.
Dos and Don’ts of Applying Top Coat on Nail Stickers
When applying a top coat on nail stickers, it’s essential to pay attention to certain details to ensure a flawless and long-lasting manicure. Here are things you should and shouldn’t do:
Dos of applying top coat on nail stickers
1. Wait for stickers to set
Allow the nail stickers to fully adhere to your nails before applying the top coat. Waiting ensures a secure bond.
2. Choose a compatible top coat
Select a top coat that is compatible with the type of nail stickers you’re using, ensuring optimal performance.
3. Apply gently and evenly
Apply the top coat gently and evenly over the entire nail surface, starting from the base and moving towards the tip.
4. Seal the edges
Pay special attention to sealing the edges of the nail stickers to prevent premature peeling.
5. Allow ample drying time
Allow the top coat to dry completely before engaging in activities to prevent smudging or imperfections.
6. Inspect for even coverage
Inspect your nails for even coverage after the top coat has dried. Apply a second coat if necessary for a polished finish.
7. Clean up excess top coat
Clean up any excess top coat that may have spread onto the surrounding skin using a small brush or cotton swab with nail polish remover.
8. Invest in quality top coat
Invest in a high-quality top coat to ensure effective protection and longevity for your nail stickers.
Don’ts of applying top coat on nail stickers
1. Don’t rush the process
Avoid rushing the application process. Ensure the nail stickers have set before applying the top coat to avoid disturbances.
2. Avoid harsh application
Don’t: Apply the top coat with excessive pressure, as this can disrupt the underlying nail stickers and affect the overall appearance.
3. Neglect sealing edges
Don’t neglect to seal the edges of the nail stickers. Proper sealing is crucial to preventing peeling.
4. Avoid immediate activities
Don’t engage in activities immediately after applying the top coat. Allow ample drying time to avoid smudging.
5. Don’t overlook even coverage
Don’t overlook the need for even coverage. Uneven application can result in an unprofessional-looking manicure.
6. Don’t neglect cleanup
Don’t neglect to clean up any excess top coat that may have spread onto the skin around your nails. Clean edges contribute to a polished look.
7. Avoid low-quality top coats
Don’t compromise on the quality of the top coat. Using a low-quality product can impact the overall performance of your nail stickers.
Benefits of Using Top Coat with Nail Stickers
Using a top coat with nail stickers offers several benefits that contribute to the overall appeal and durability of your manicure. Here are the key advantages:
1. Longevity
Applying a top coat significantly extends the lifespan of your nail stickers. It acts as a protective barrier, preventing premature wear and ensuring that the vibrant colors and details of the stickers last longer.
2. Enhanced appearance
A top coat provides a glossy finish that enhances the overall appearance of your nail stickers. This glossy sheen adds a polished and professional look to your manicure, making it more visually appealing.
3. Protection against damage
The top coat acts as a shield, protecting your nail stickers from potential damage caused by daily activities, environmental elements, and exposure to water or chemicals. This protection helps maintain the integrity of the stickers.
4. Sealing edges to prevent peeling
By sealing the edges of the nail stickers, a top coat prevents them from peeling or lifting prematurely. This ensures that the stickers stay securely attached to your nails, maintaining a neat and polished look.
5. Smudge resistance
The top coat enhances the smudge resistance of your nail stickers. It prevents accidental smudging or disruptions to the underlying design during and after the application process.
6. Professional finish
Adding a top coat imparts a professional finish to your nail art. It transforms your manicure into a cohesive and well-executed look, elevating the overall aesthetic appeal of your nails.
7. Ease of application
The application of a top coat is a simple and quick step in the nail art process. It seamlessly integrates into your routine, offering additional benefits without requiring intricate or time-consuming procedures.
8. Glossy and polished look
The glossy finish provided by the top coat gives your nails a lustrous and polished appearance. This contributes to a more refined and sophisticated look, making your nail stickers stand out.
9. Seamless integration with nail stickers
High-quality top coats are designed to complement various types of nail stickers FOR compatibility and seamless integration. This allows you to enjoy the benefits of both the stickers and the top coat without compromising the final result.
Should I put clear coat over nail stickers?
Yes, applying a clear coat over nail stickers is advisable. A clear coat, or top coat, not only enhances the appearance of the stickers, giving them a glossy finish, but also provides a protective layer that helps prevent premature wear and maintains the vibrancy of the design.
Bottomline
The application of a top coat on nail stickers is a simple yet crucial step in achieving a beautiful and enduring manicure. The dos, such as waiting for stickers to set, choosing a compatible top coat, and ensuring even coverage, contribute to the overall success of the process. Sealing the edges and investing in a quality top coat are key factors in preserving the integrity and longevity of your nail stickers.
On the flip side, the don’ts, such as avoiding rushed applications, harsh pressure, and neglecting to seal edges, highlight the importance of a careful and patient approach. By adhering to these guidelines, you not only enhance the aesthetic appeal of your nail stickers with a glossy finish but also fortify them against daily wear and tear.

