

As an experienced nail technician with a deep understanding of gel polish application, I’ve encountered numerous clients who have faced the frustrating issue of gel polish not curing properly. It can be disheartening to spend time and effort on a beautiful manicure or pedicure, only to have the gel polish remain sticky or fail to harden completely. But why does this happen?
If your gel polish isn’t curing properly, it’s likely because you applied it too thick or didn’t let it cure long enough under the nail lamp. There are two types of lamps, UV and LED. Some gels work with one, others with both. Check if your gel matches your lamp before putting it on.
In this blog post, I will delve into the possible reasons behind this problem and provide practical solutions to help you achieve a flawless and long-lasting gel polish application.
Process of Curing Gel Nail Polish
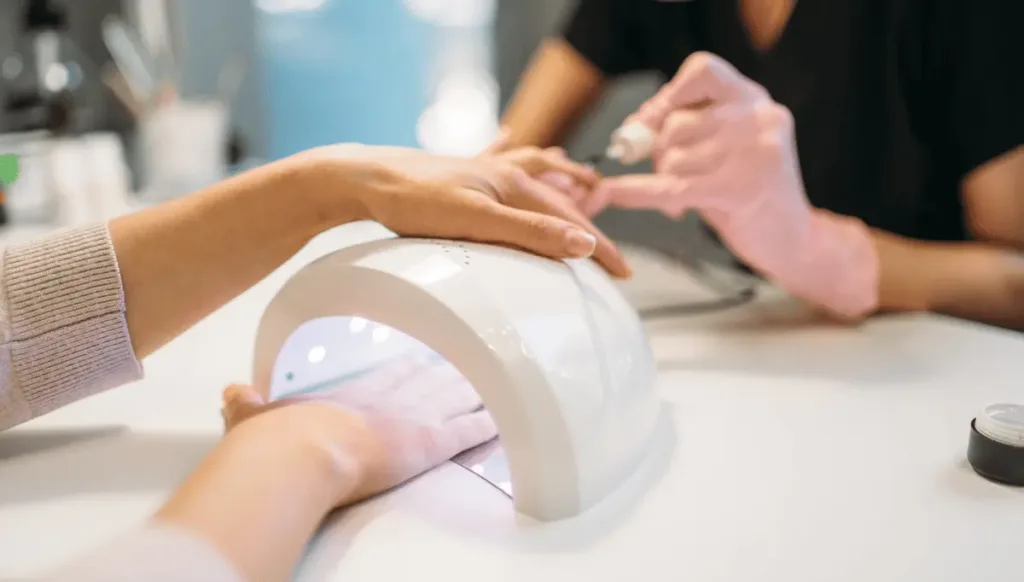
Before we delve into the reasons why gel polish may not be curing properly, let’s first understand the process of gel polish application and curing. Gel polish is a type of nail polish that requires UV or LED light exposure to harden and set. Unlike regular nail polish, which air dries, gel polish needs a curing process to create a durable and chip-resistant finish that can last up to two weeks or more.
The curing process involves exposing the gel polish to specific wavelengths of light, typically in the UV or LED range. This light activates photoinitiators present in the gel polish, causing a chemical reaction that leads to polymerization and hardening of the gel. Proper curing is essential to achieve a glossy, chip-free, and long-lasting manicure or pedicure.
Common Reasons for Gel Polish Not Curing
Now that we understand the basic process of gel polish curing, let’s explore some common reasons why it may not be curing properly:
1. Inadequate lamp power or incorrect lamp type
One of the primary reasons for gel polish not to harden is the use of an inadequate lamp or incorrect lamp type. Gel polishes are formulated to cure under specific wavelengths of light, either UV or LED. Using a lamp with insufficient power or the wrong light source can hinder the curing process, resulting in sticky or uncured gel.
To ensure proper curing, it’s crucial to invest in a high-quality UV or LED lamp suitable for gel polish application. Make sure to check the wattage and compatibility with the gel polish brand you are using. If you are unsure, consult the manufacturer’s instructions or do some research to find a lamp that meets the necessary requirements.
2. Improper application thickness
Another common culprit behind gel polish hardening issues is improper application thickness. Applying gel polish in excessive layers or too thick of a coat can impede the curing process. The UV or LED light may not penetrate through the layers effectively, leading to under-cured or sticky gel.
To overcome this problem, always follow the manufacturer’s guidelines regarding the number of coats and recommended thickness for your gel polish. Typically, two thin coats provide better curing results than one thick layer. Ensure each layer is evenly and thinly applied, allowing ample light exposure for proper curing.
3. Inadequate curing time
Insufficient drying time is a frequent mistake that many individuals make, resulting in gel polish not curing completely. Each gel polish brand has specific instructions regarding the required curing time under the lamp. Failing to adhere to the recommended curing time can lead to uncured or soft gel polish.
To avoid this issue, always set a timer or refer to the manufacturer’s instructions to determine the appropriate curing time for your gel polish. It’s important to note that setting times may vary depending on the brand, color, and thickness of the polish. Be patient and allow sufficient time for the gel to cure fully under the lamp.
4. Use of expired or low-quality gel polish
Using expired or low-quality nail polish also won’t allow your nails dry and harden on time. Over time, gel polishes can degrade and lose their effectiveness, resulting in poor curing performance. Additionally, cheap or counterfeit gel polishes may not contain high-quality ingredients necessary for proper curing.
To ensure optimal results, always work with fresh, high-quality gel polish from reputable brands. Check the expiration date before use, and avoid purchasing gel polishes from unknown or unreliable sources. Investing in quality products will significantly improve the curing process and the longevity of your manicure or pedicure.
How to Fix Gel Polish That Isn’t Curing
Now that we’ve explored the reasons behind gel polish not curing properly, let’s discuss some practical solutions to fix this issue:
1. Double-check your lamp
If you’re experiencing curing problems, start by double-checking your lamp. Ensure that it is the correct type (UV or LED) for your gel polish brand and has the appropriate wattage. If you’re uncertain about your lamp’s compatibility, consider investing in a lamp recommended by the gel polish manufacturer.
2. Thin it out
If you’re applying gel polish in thick layers, try thinning it out for better curing. Stick to the recommended number of coats and apply each coat thinly and evenly. This allows the light to penetrate effectively and ensures proper curing.
3. Extend curing time
If you’ve followed the recommended curing time but still face curing issues, try extending the curing time slightly. Add an extra 30 seconds to a minute to the recommended time and check if that makes a difference. Remember that different gel polish colors and brands may require slightly longer curing times.
4. Invest in high-quality gel polish
Using high-quality gel polish from reputable brands is crucial for successful curing. Avoid expired or low-quality products, as they can significantly affect the curing process. Invest in premium gel polishes to achieve the best results and long-lasting wear.
Why is my UV light not curing my gel polish?
Your UV light may not be curing your gel polish due to insufficient wattage, outdated bulbs, or improper positioning. Ensure your UV lamp meets the recommended wattage, replace old bulbs, and position your nails properly within the lamp for even curing.
Conclusion
Gel polish not curing properly can be a frustrating experience, but understanding the potential reasons behind this issue and implementing the appropriate solutions can help you achieve flawless and durable manicures and pedicures. Remember to use the correct lamp, apply gel polish thinly, adhere to recommended curing times, and invest in high-quality products for optimal results.


